The Build
-

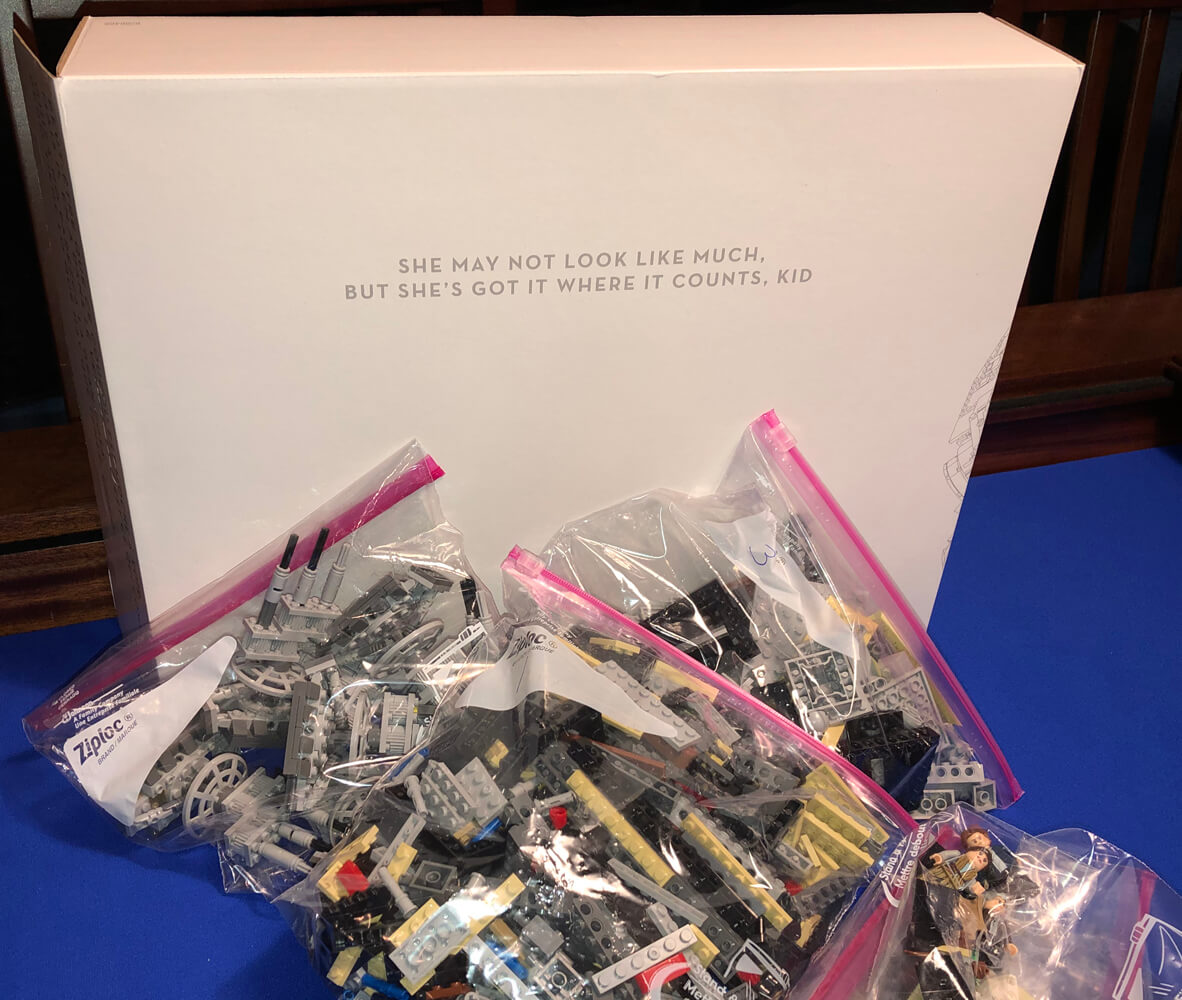
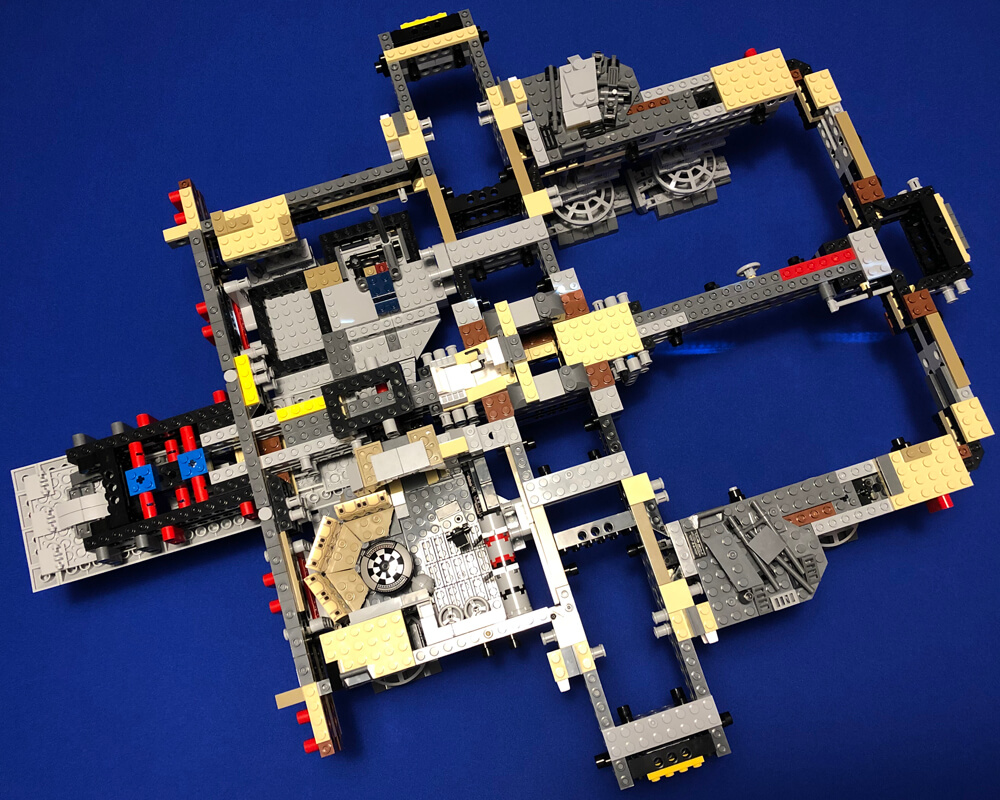
Box 1: Bags 1-3
So I just finished the first box of pieces. Overall everything went very well. I did have a couple small pieces in different colors than they should have been (dark gray instead of light bluish gray or a black) but no big deal. It just adds to the character of the ship which is a patchwork quilt of sheet metal anyway.
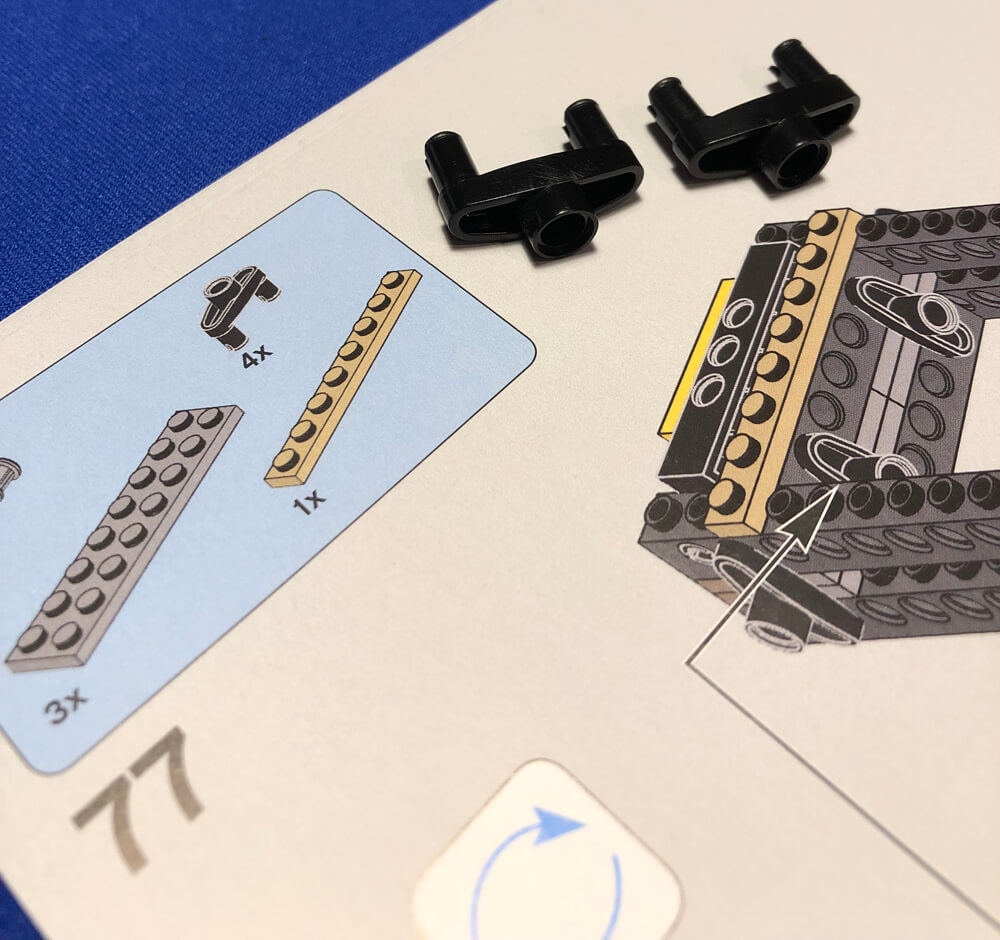
Around Step 77 I discovered the hardest pieces to install: a Technic pin connector 3L with 2 pins and center hole. They're especially tricky when they are going into a corner inside of a rectangular shape.
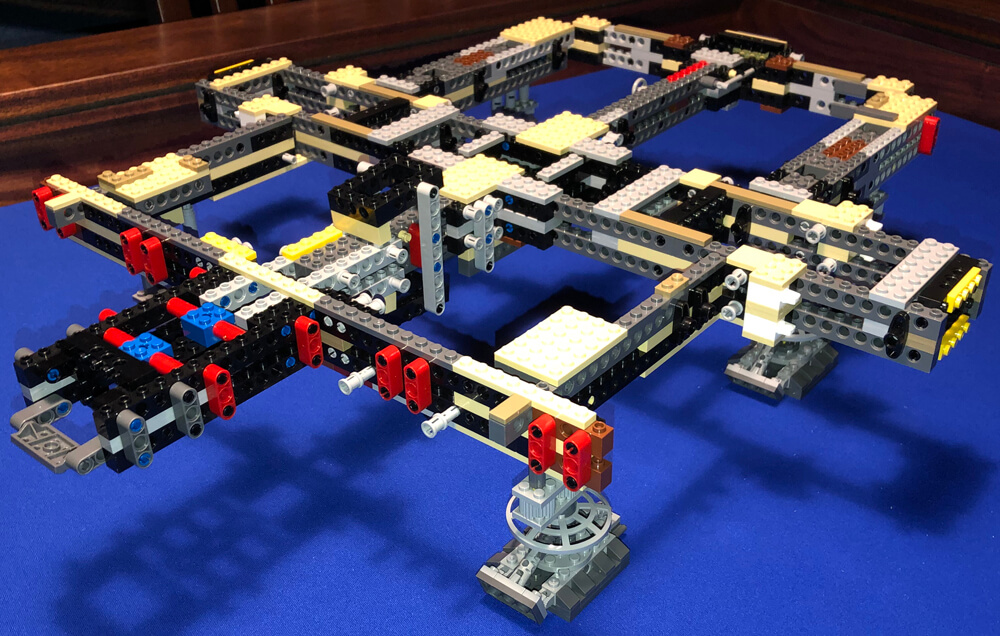
Out of hundreds of pieces I only came across two that were a pretty loose fit: a blue Technic pin 1/2 (4274) and a small vehicle steering wheel 2 studs wide (30663). The pin is the issue as the collar the wheel snaps onto isn't very robust so the wheel falls off. The kit uses 29 of these pins. You can get them for a penny used, or four cents each if you have to have new. The steering wheel is a penny used or new. Or just put a dab of rubber cement on them. This is not an issue for me.
My only concern is in Step 211 when you install the long rectangular panel under the Millennium Falcon. It only attaches at two small connection points at each end. You will later put the forward-most landing gear through this part, but it won't help it stay in place.
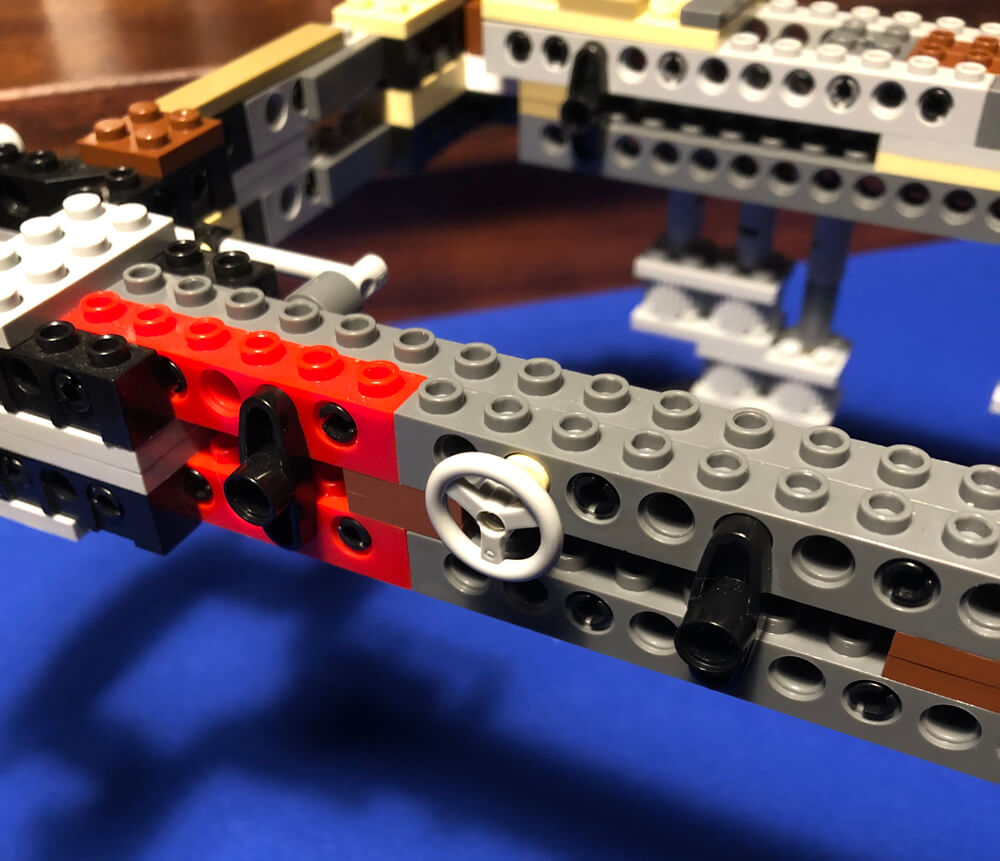
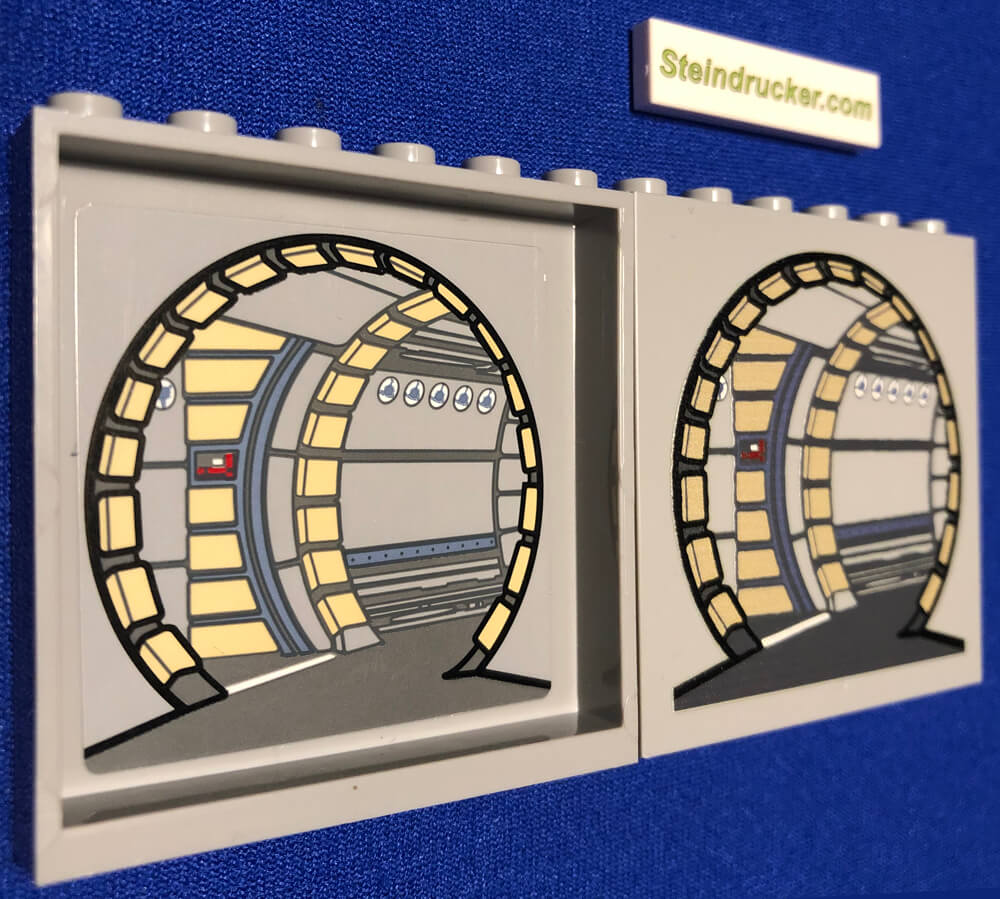
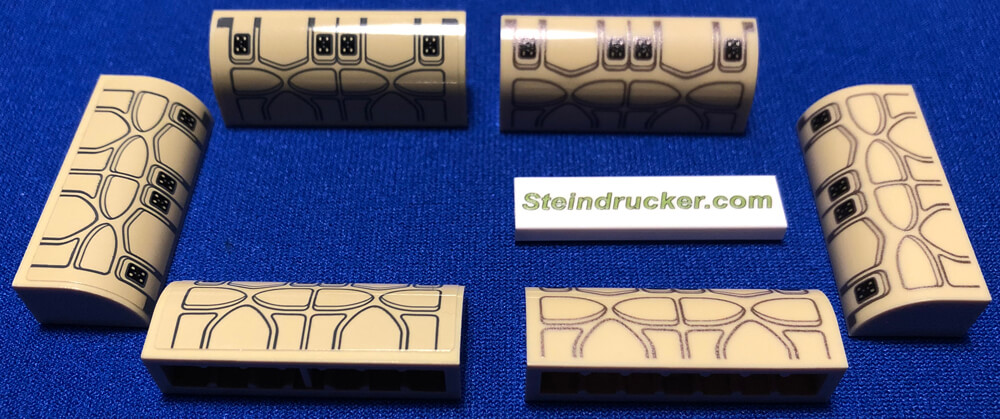
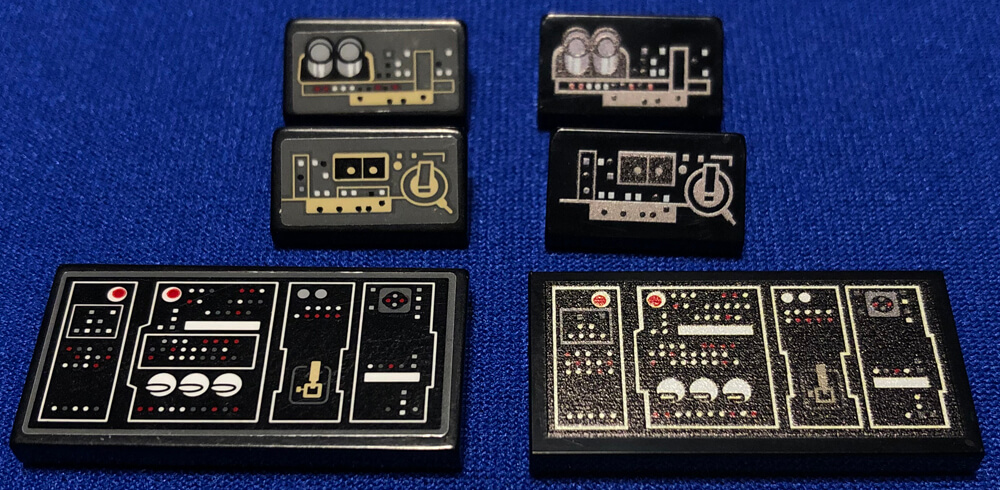
I also wanted to show off some of my pre-printed bricks. There are several that are installed in the first few bags. The pre-printed bricks are on the right. They have a flat finish and look really good. You'll notice with the corridor pieces that they are printed on the flat side instead of the recessed side so you loose a perceived depth of one stud.
Click to enlarge the photos below.