The Build
-

Box 2: Bags 4-8
No real issues in this box either. Once again I did have a couple small pieces in different colors than they should have been (dark gray instead of light bluish gray or a black).
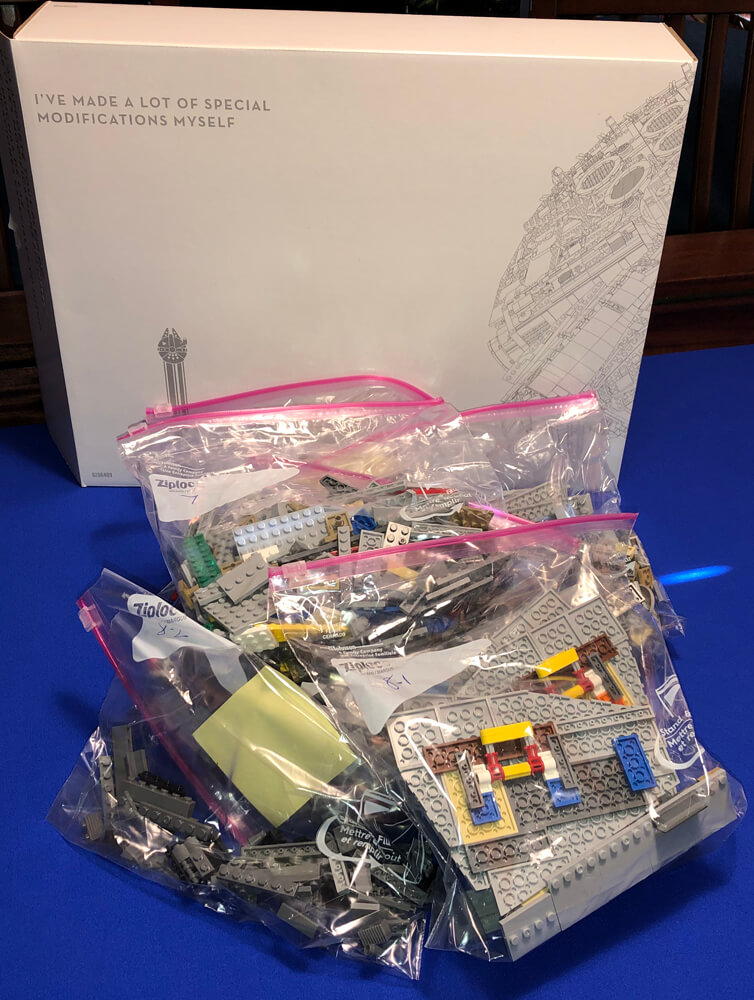
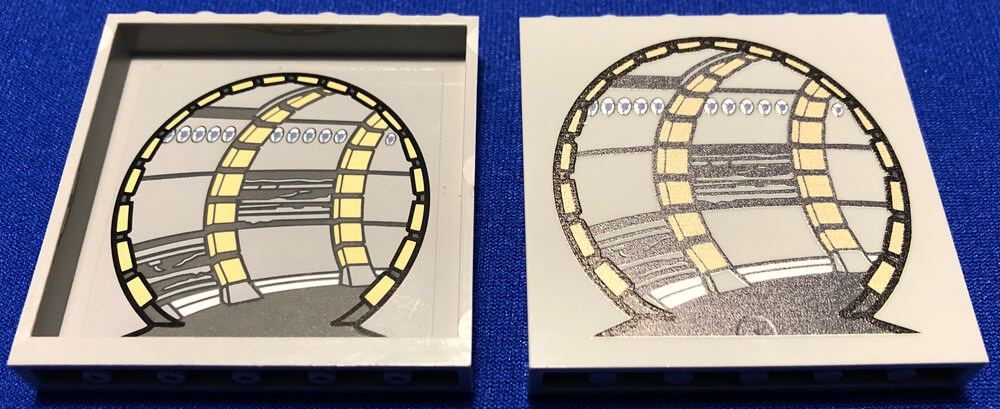
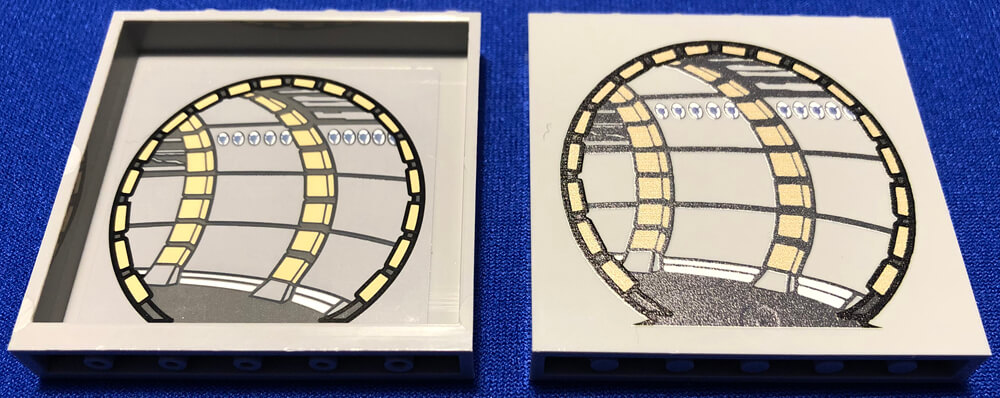
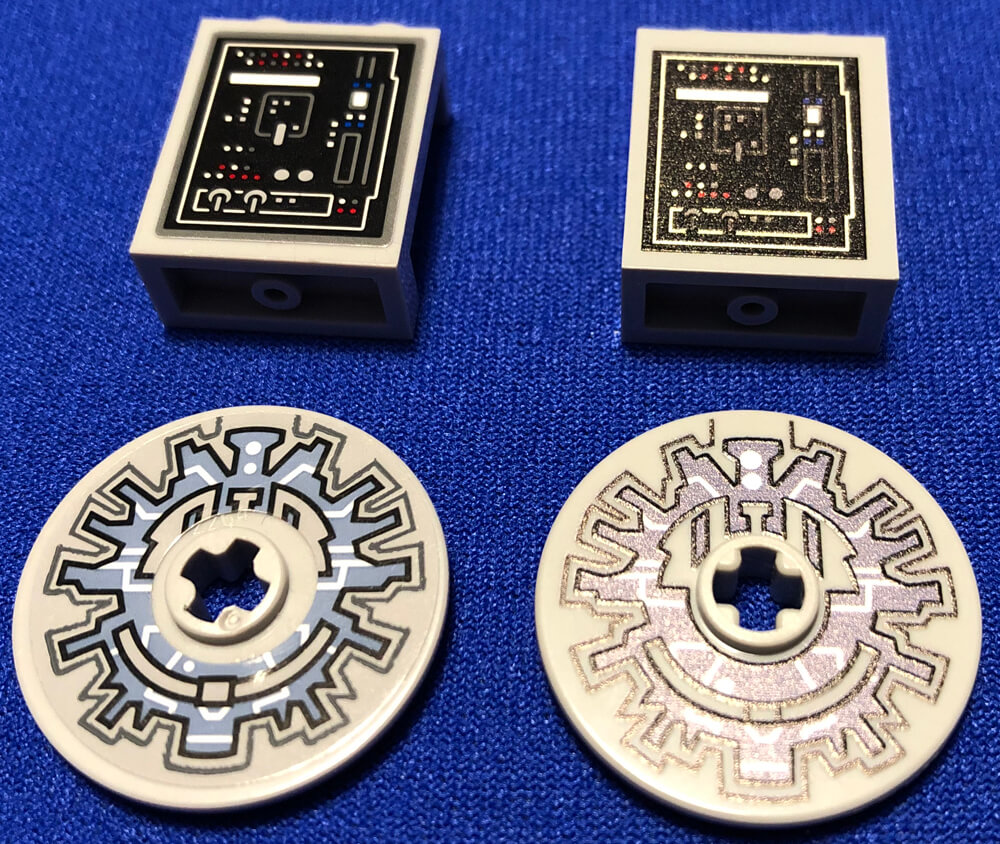
Bag 4 has several parts with stickers, and some pre-printed stock pieces as well. I'm showing off some more of my Steindrucker pre-printed pieces. Know that the passageway panels are printed on the reverse side. This of course has no impact on construction. In the comparison pictures the stickered bricks are on the left.
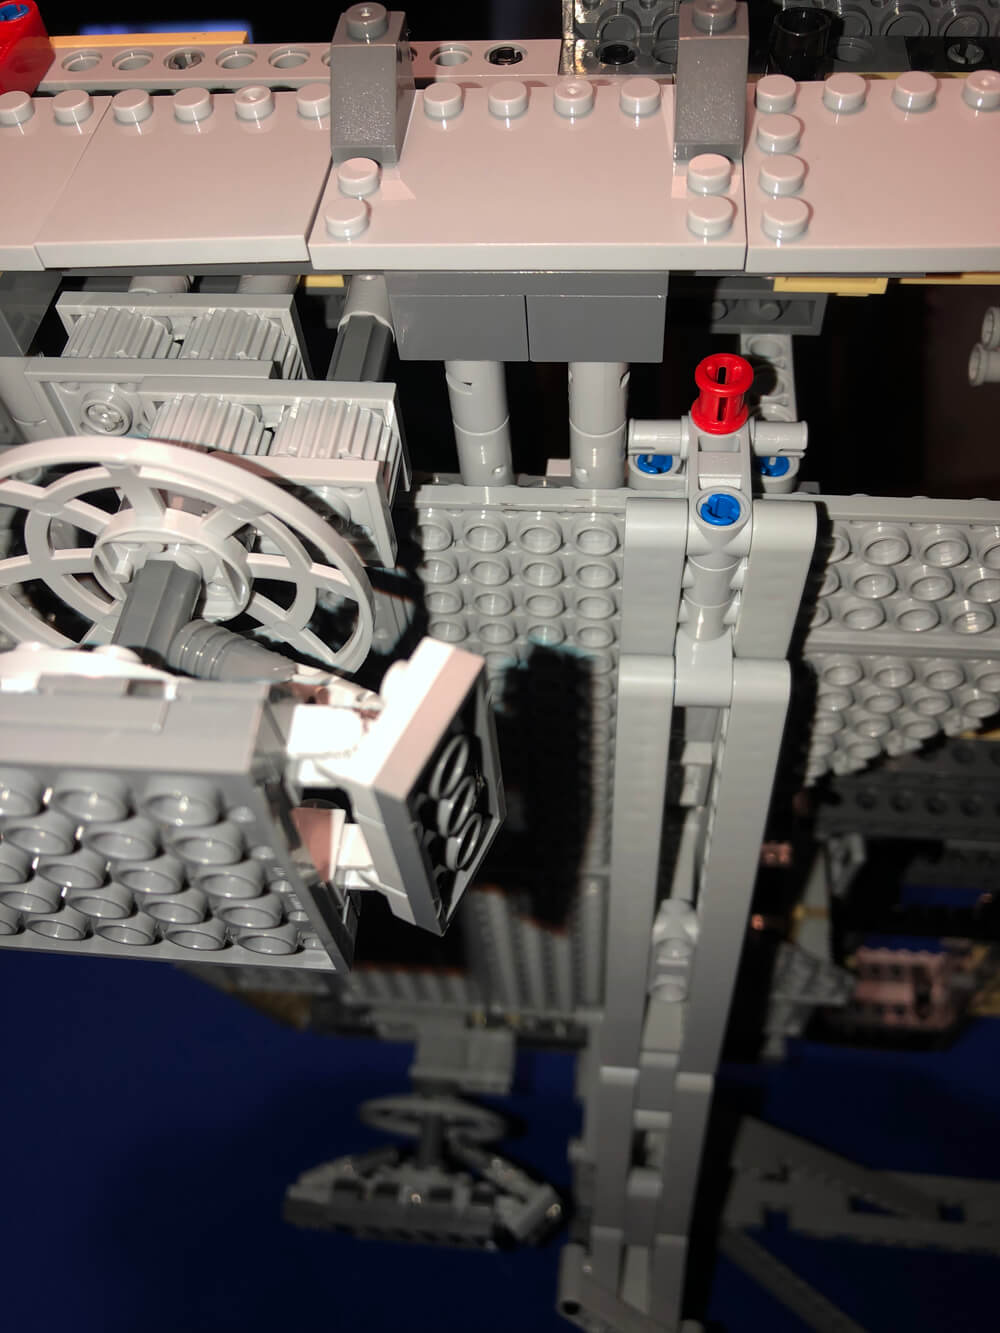
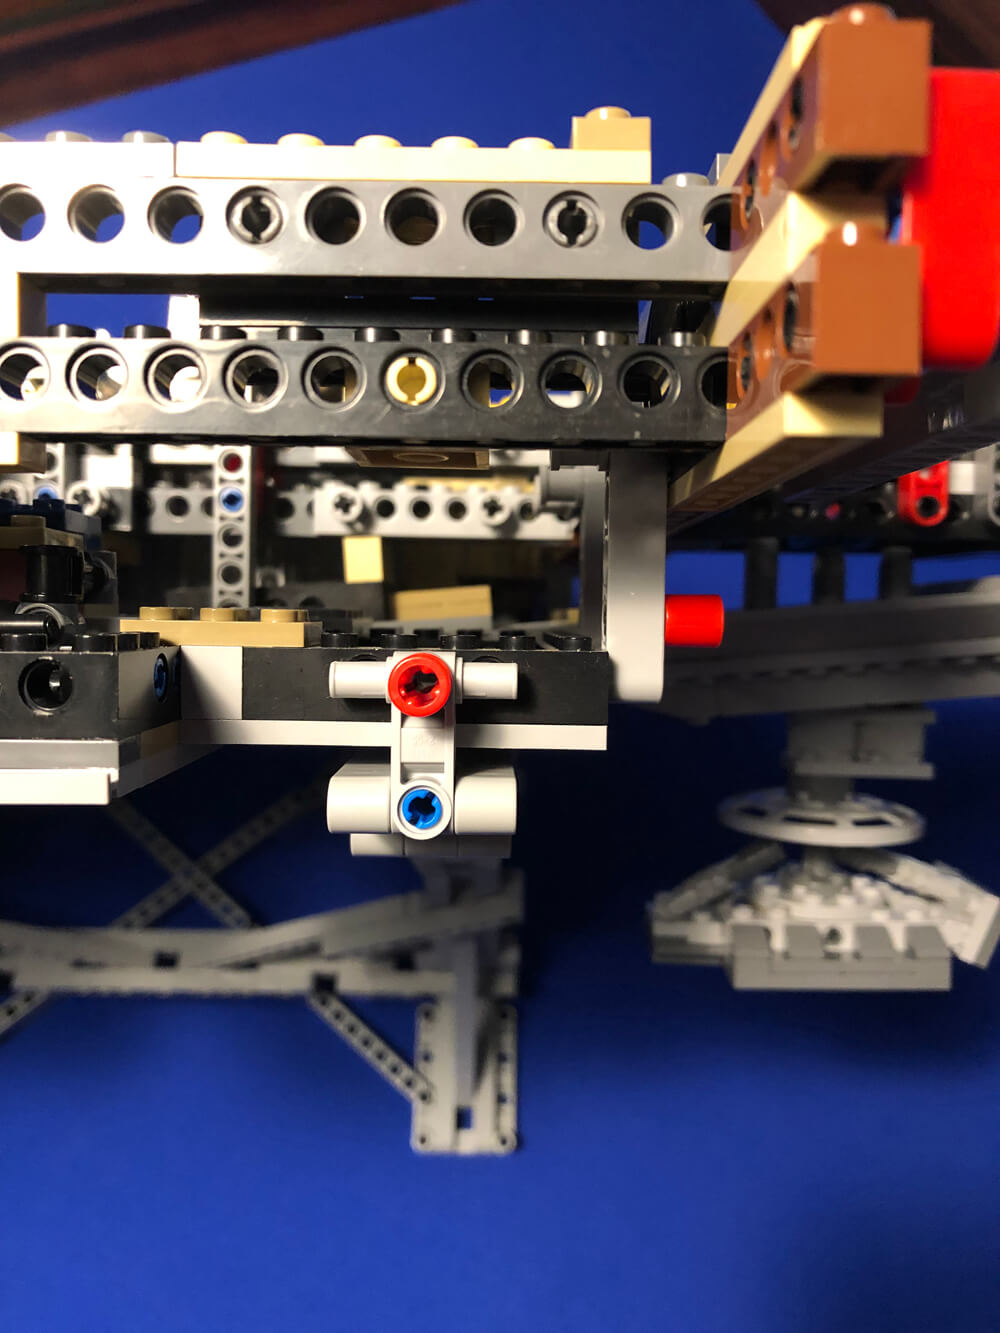
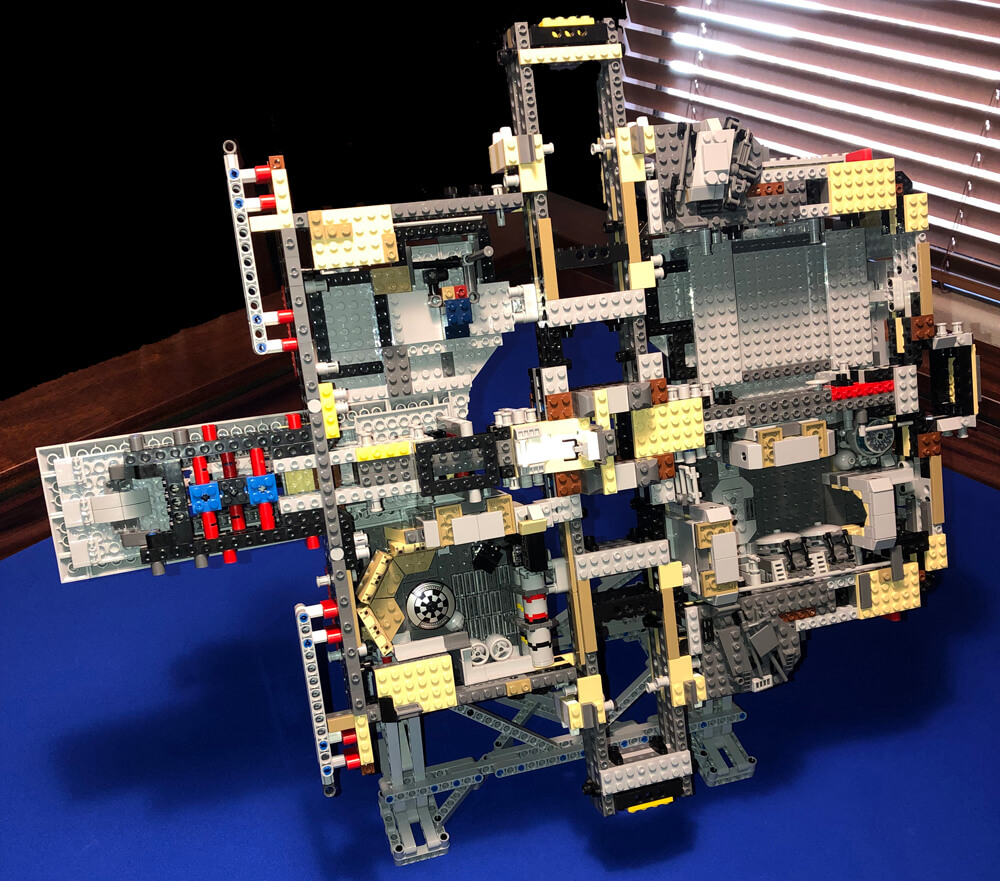
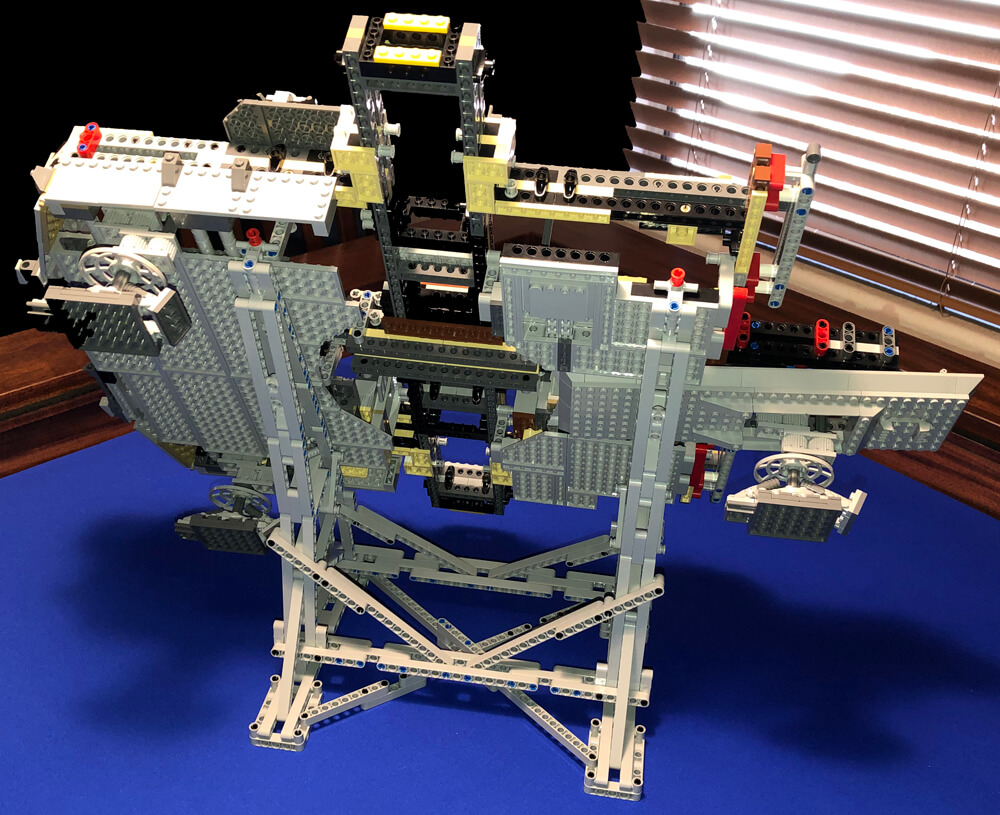
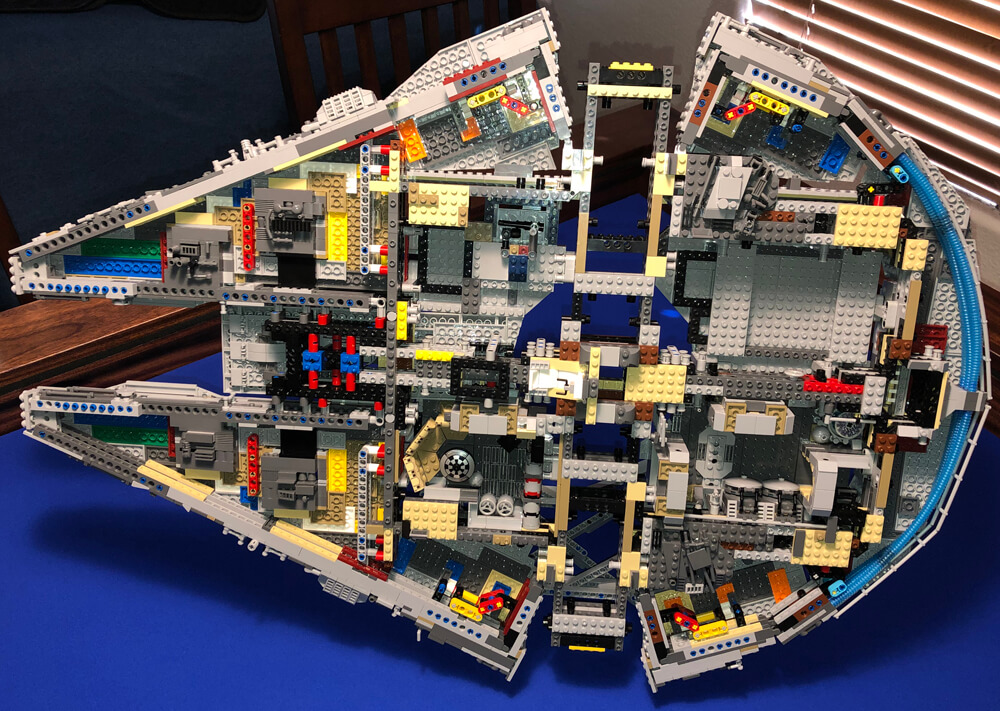
At the end of bag 4 I decided to mount the Millennium Falcon to the Efferman stand before its weight and size started to become a problem for mounting. It's actually beneficial to mount it on the stand now as some parts would benefit from being able to see under the ship to attach them. Make sure the red pins on the stand are retracted before attempting this. Also remove all the landing gear except the forward-most center unit, and the rear-most gear on each side. You should only have three landing gear installed at this point.
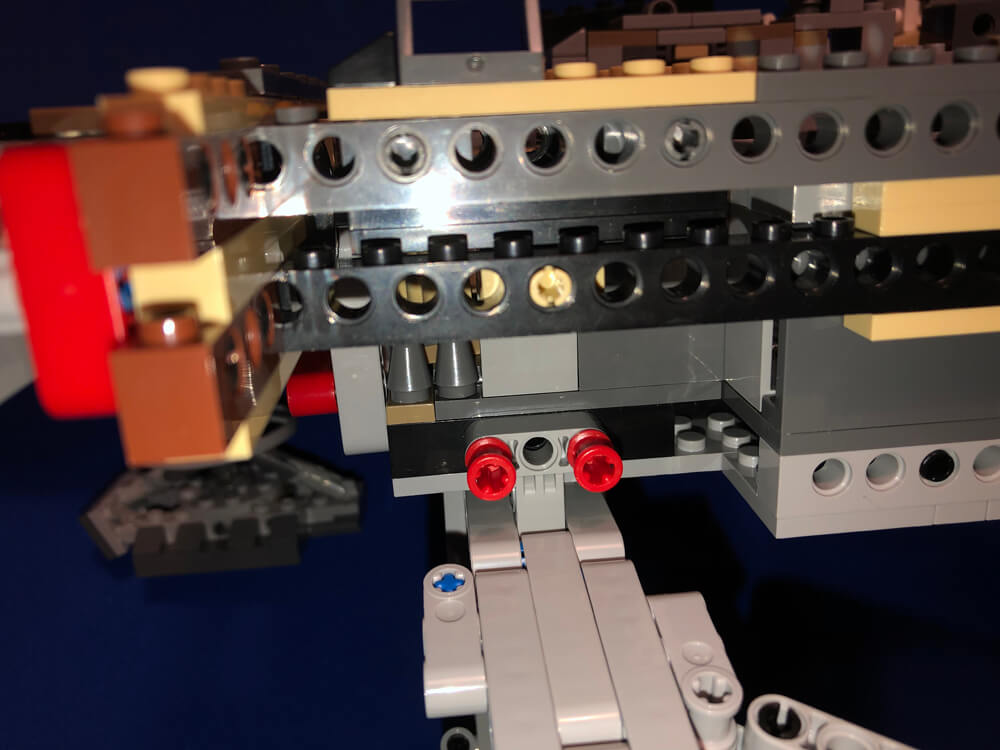
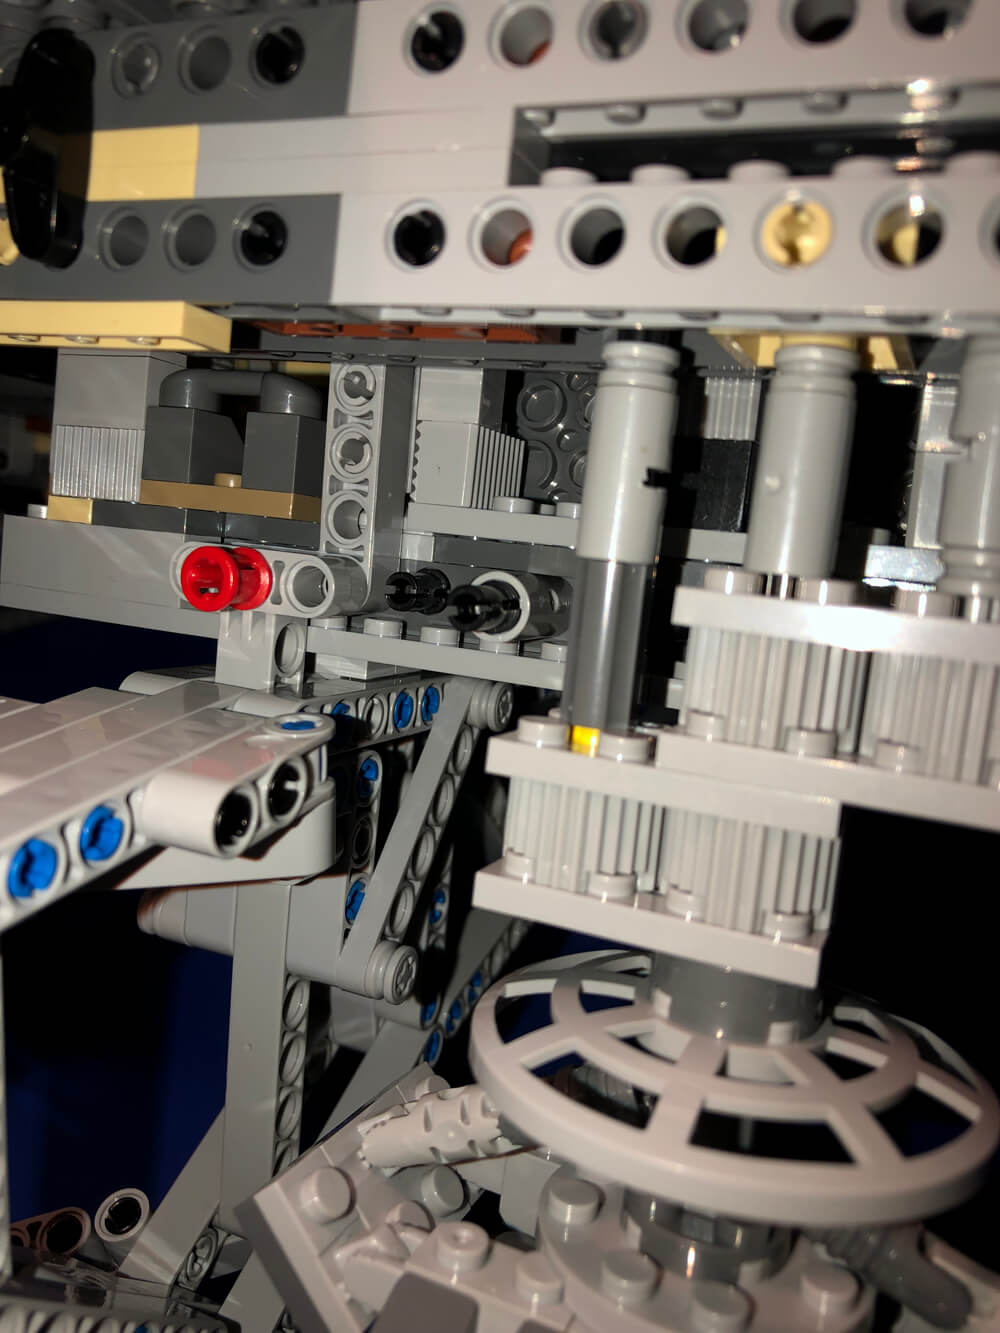
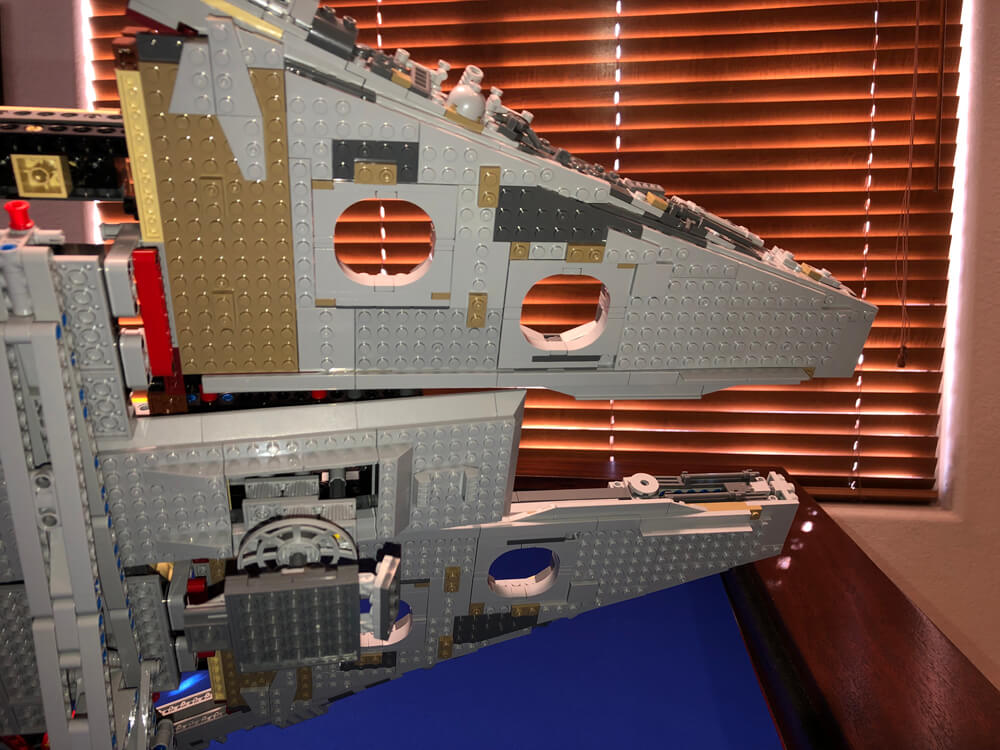
I locked in the top two single red pins first. Then, holding the Millennium Falcon from the core of the frame surrounding the upper gun turret I then tilted it back so I could see where the lower mounting pins would go. The left side pins are exposed and easy to see. Lock them in first. For the right side you may need to remove the rectangular skirt panel that hides some of the landing gear. It attaches to only three axle pieces and removes easily. There is only a single pin here to lock in place. You want to make sure these pins lock in firmly. I have pictures below that I'll put captions on so you know what you're looking at.
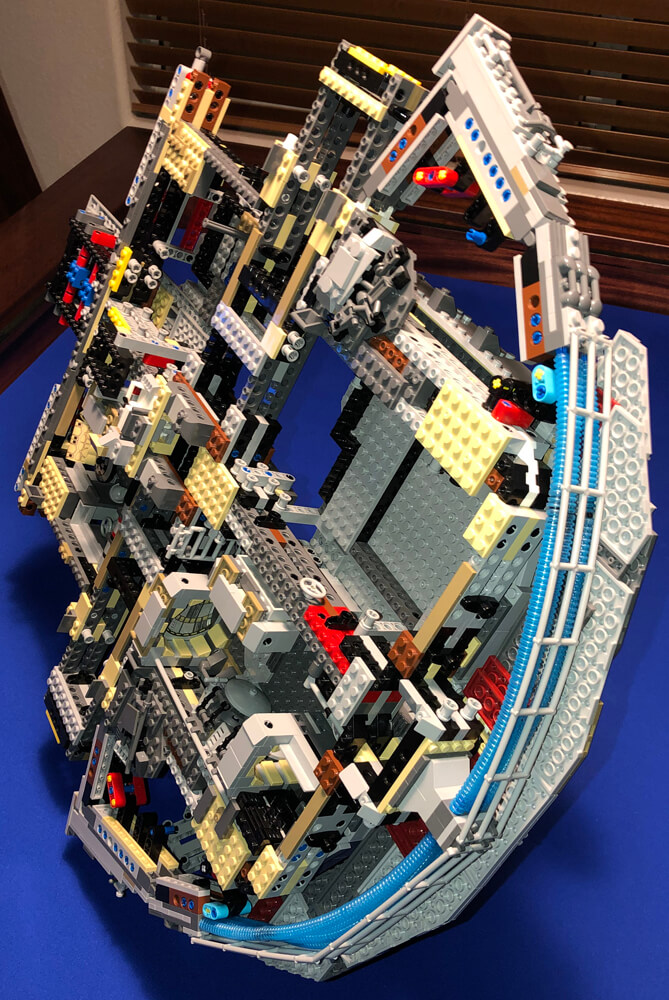
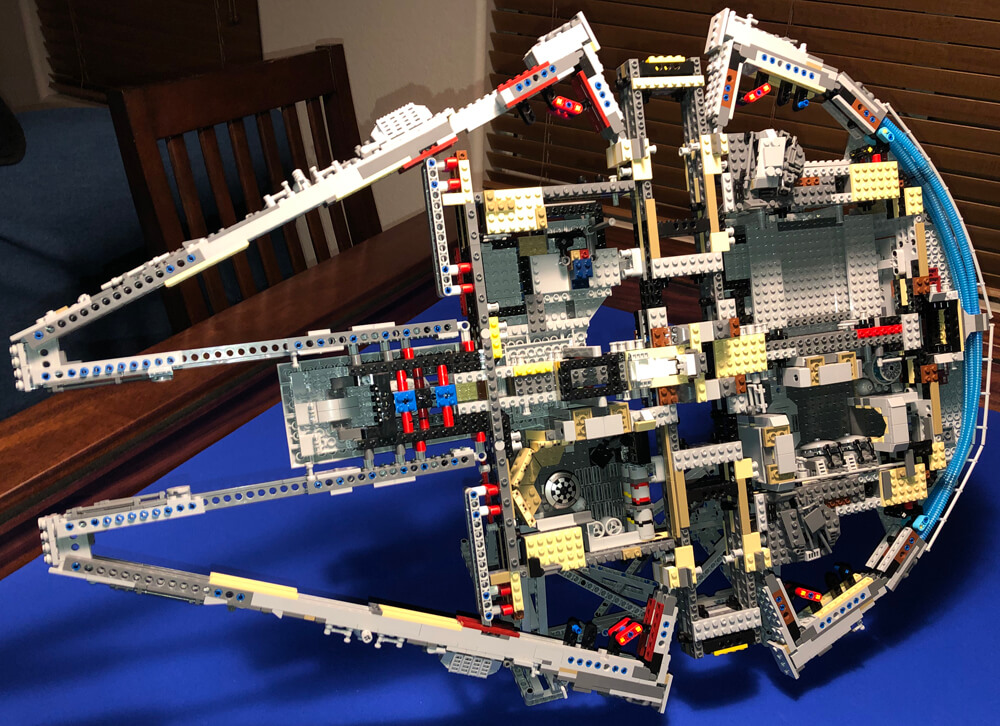
When I got to the point I was installing the six blue tubes, I had to cut three of them short by two rings each as they bunched up horribly when installing the engine coverings over them. Speaking of the engine coverings, or as they're offically known: boat mast rigging long 28 x 3.5, they place a lot of tension on the modified 1x1 tiles with clips. You may need to slightly curl the pieces but be careful as you can snap them just as I did with one of them. BrickLink to the rescue. I utlimately intend on redesigning the stock engines and these two pieces will go away as I think they look awful.
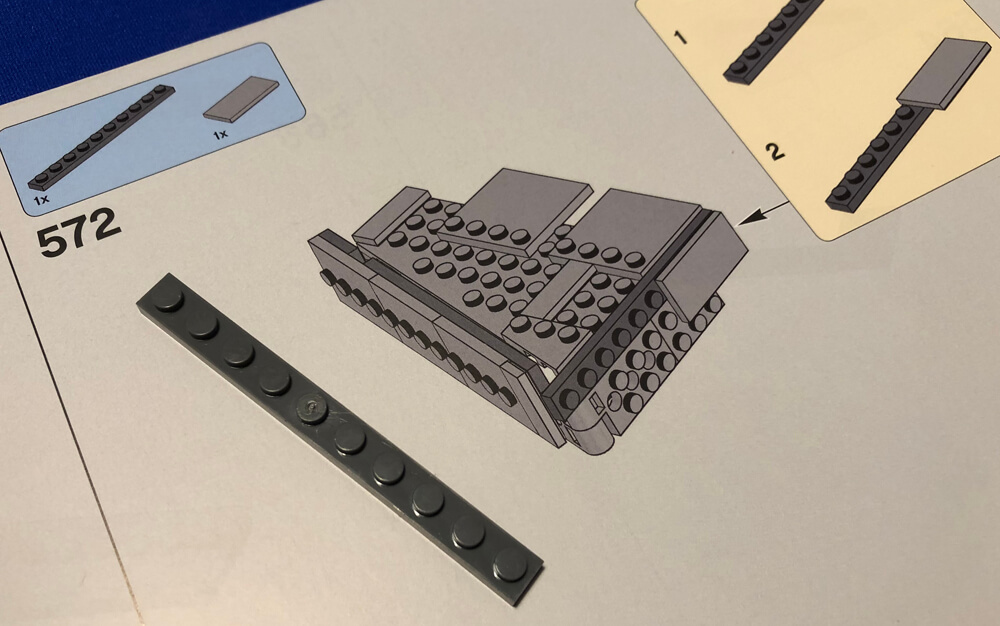
I ran into a construction issue on bag 8. When trying to install a sub-assembly on the port side lower mandible I was unable to line up the three mounting pins with the technic beam already attached to the hull. Everything was about a half stud off in lining up. I checked to make sure I built the sub-assembly correctly. The only solution was to not install the 1x10 plate in Step 572. That plate made the difference as both the sub-assemblies touch against the large rectangular section (that the forward landing gear goes through) that's already there.
Click to enlarge the photos below.