The Build
-

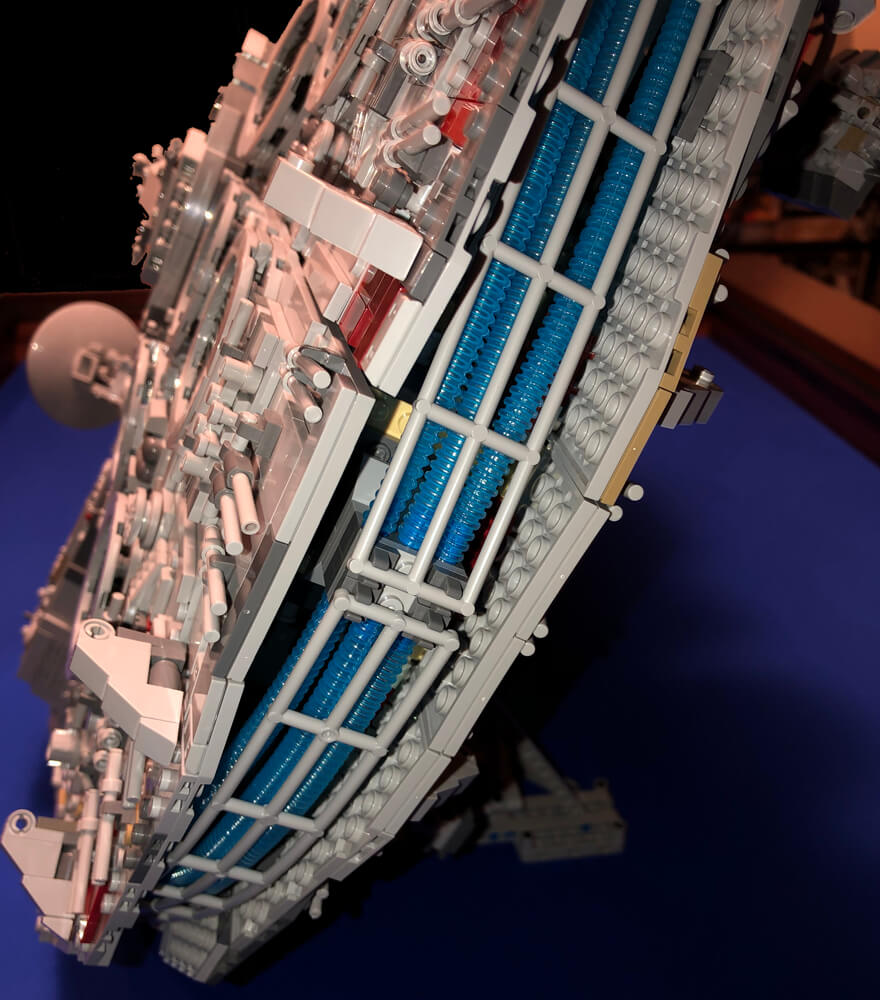
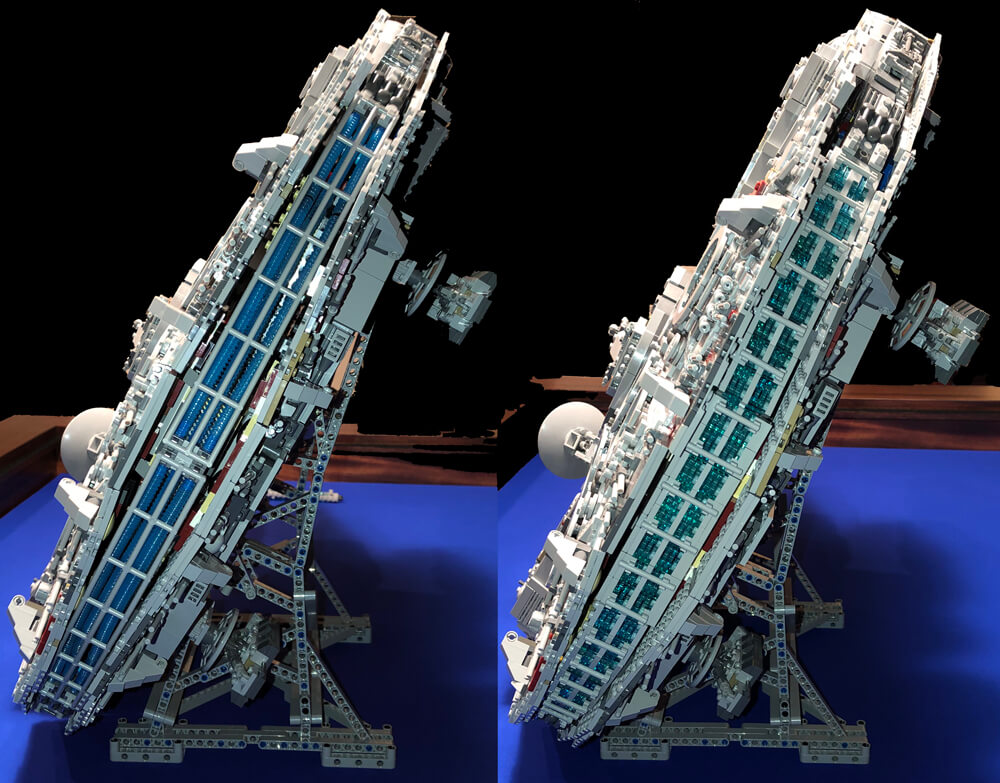
Hyperdrive engine
Like many I don't like how Lego designed the hyperdrive engine by using the blue ribbed straw tubes. As it was I had to trim a couple of mine as they were too long and bunched up funny leaving odd gaps. Even cut to the correct length it's still a slopply looking design. Once I put in a light kit it will look even worse as there will be gaps where the light won't have any tubing in front of it. This is probably the single best looking modification you can perform on this kit. Since the 1x2 plates used in this build come in more than a dozen transparent colors, you have a lot of choice in the final look for your hyperdrive.
The Eurobricks thread will show you several different ideas for how to modify the hyperdrive. One popular style uses round transparent pieces to make up the blue color. I liked the designs that used rectangular transparent pieces instead. A user by the name of "ClassicLook" was generous enough to share detailed plans and a parts list for how to reproduce his creation. Definitely shop around for the best price as I've seen some wild swings in the range.
The plans are in Stud.io format unfortunately. I don't understand how to use this program to generate building steps unlike Lego Digital Designer which makes a lot more sense to me. I found the "Building steps" on the MOC page to be somewhat helpful, and the "3D model" to be the most helpful in constructing this. There are only a few parts used in the design so you should be able to just examine the pictures and figure out what you need to do.
Once built, the hyperdrive just drops right in with no modification needed to the kit. One side connected easily, the other took a little bit of playing around to get the curve right in all the hinges. Those pins just didn't want to go in so easily the second time. You'll notice that there's still a gap between the hyperdrive and the ventral and dorsal plating. You could fill this gap by adding a few more tiles and plates above and below it. I intend to also perform the modification to remove the bulk on those panels to make it thinner in back. So I may not need the additional pieces to fill up the gaps.
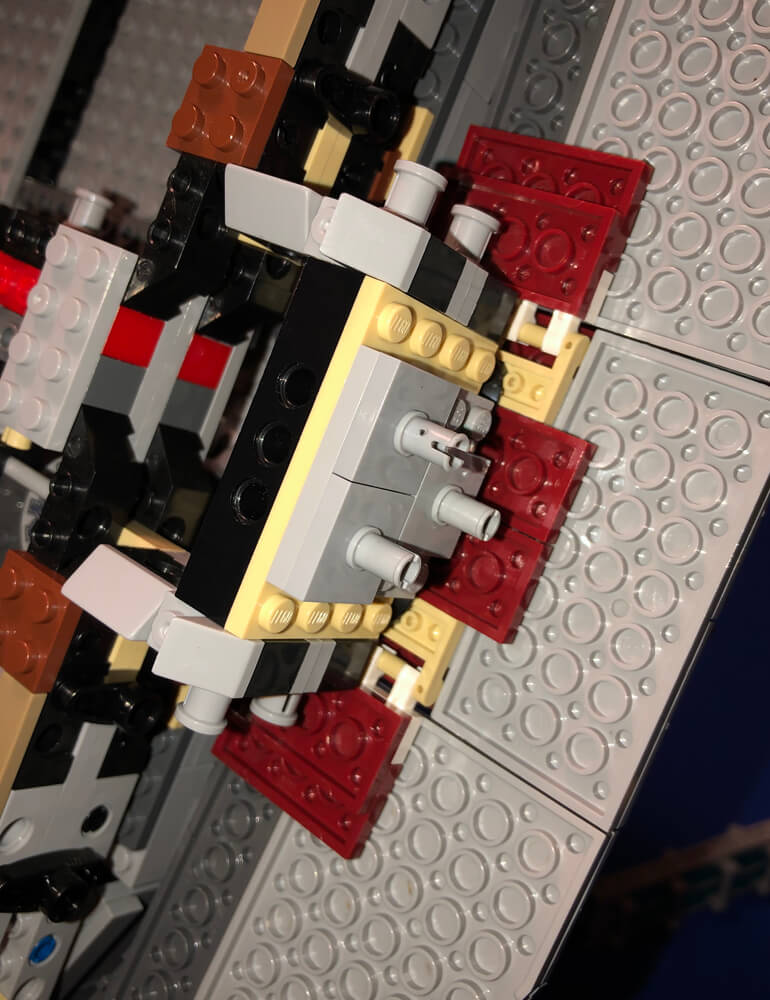
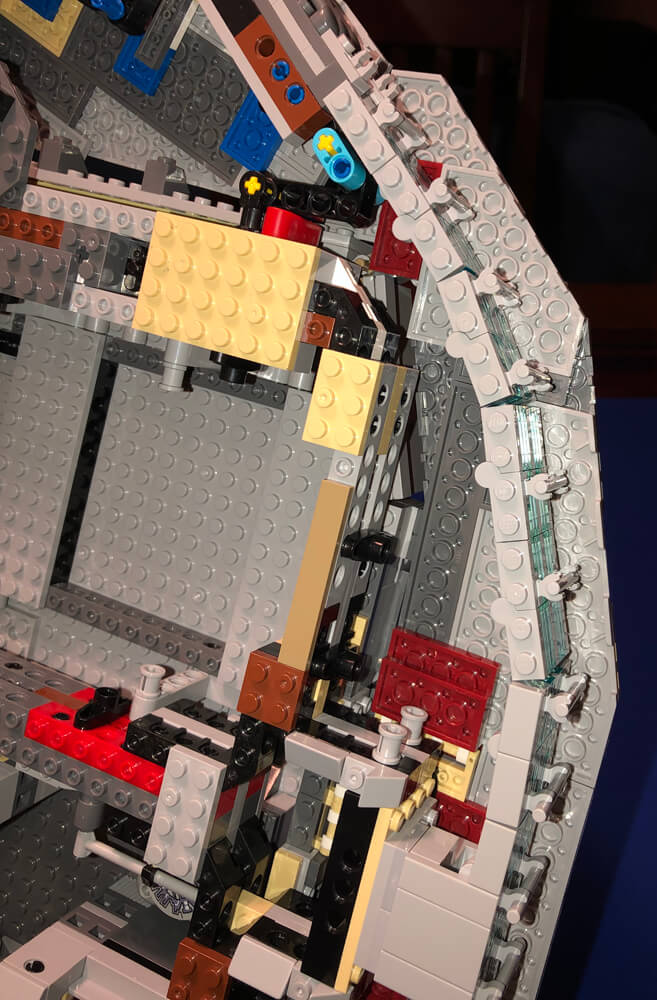
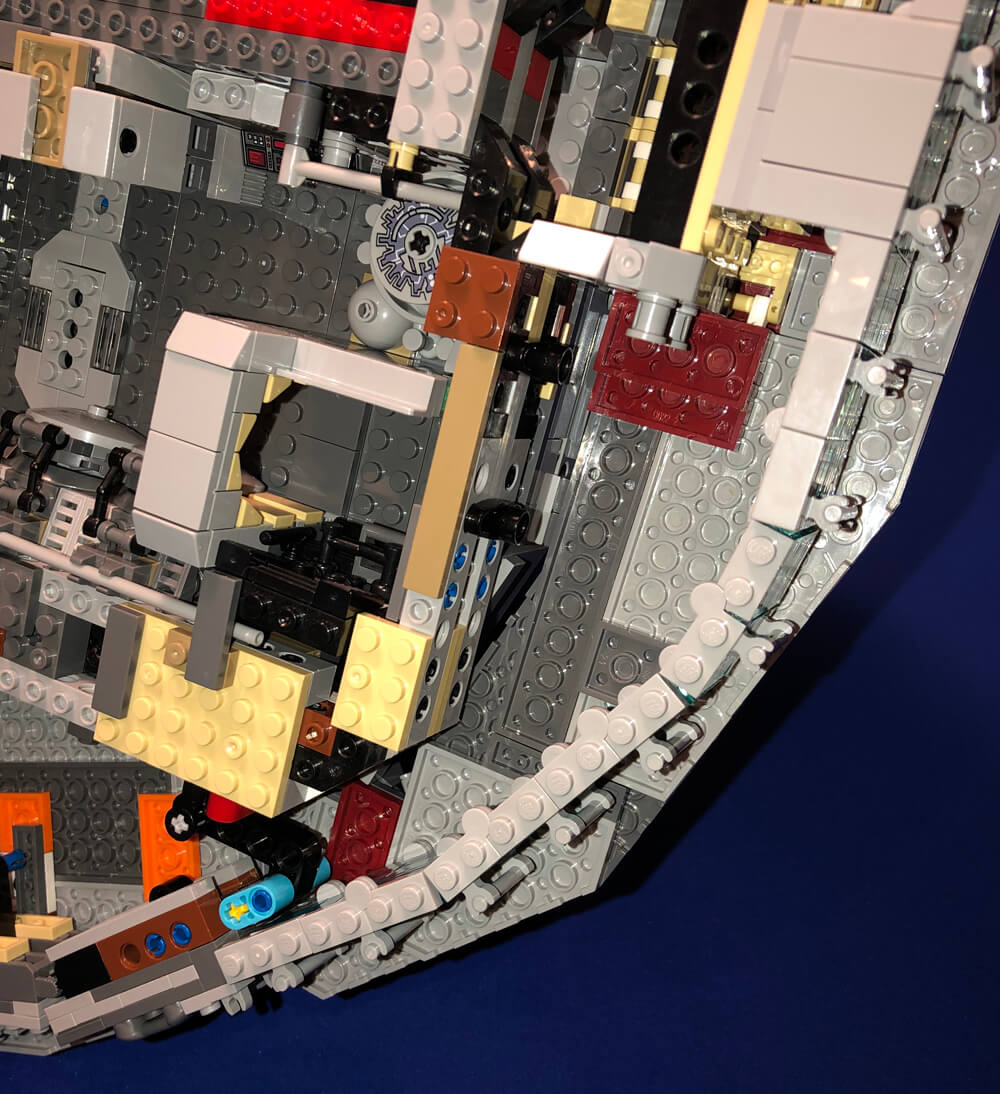
Click to enlarge the photos below.