
How to Root the Fire TV without a Computer using KingRoot, Install TWRP Custom Recovery, a Pre-Rooted ROM & Block Software Updates (Best Method).
Page 3 of 3Step 5.
Next we'll get rid of any bloatware that KingRoot added by performing a factory reset. For your information:A factory reset will perform the following:
- Delete all user installed applications.
- Delete all user data and settings.
- Disable ADB debugging.
- Enable over-the-air updates, if they were already blocked.
- Force you to go through the initial setup process. This includes pairing the remote control, connecting to Wi-Fi, re-entering your Amazon account information, etc.
- Remove root.
- Remove TWRP.
- Remove pre-rooted ROMs.
- Restore the Fire TV OS to the most current one, or fix it in any other way.
Back at the home screen click Wipe.
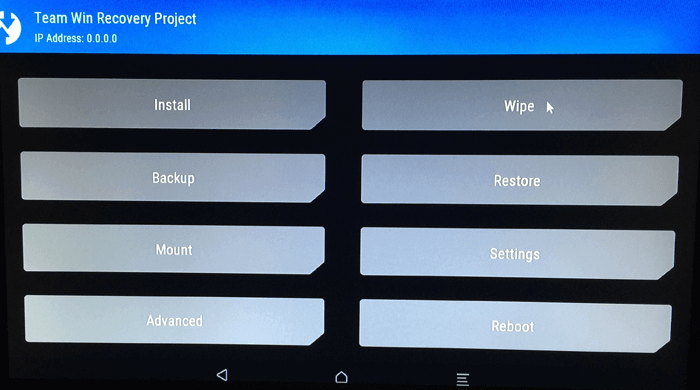
Click the Advanced Wipe button.

Check the boxes next to Dalvik/ART Cache, Cache, Data, and Internal Storage. Then click the Swipe to Wipe button.

Stop right now before you click anything else if you are at all concerned about a newer update being available that may block root access (since we haven't gotten to the point in the instructions yet where you can disable updates).
As soon as you click the Reboot System button at the next screenshot the Fire TV will go through its normal process of checking for updates. At the time of this tutorial being posted 5.0.5 was the most current firmware so I wasn't worried about an update. However, Elias at AFTV News.com wrote a great article (and made a really good video, I envy his video capture device) on how to prevent the Fire TV from checking for updates. Basically it boils down to disconnecting your modem or router's power after you initially set up the Fire TV by providing your log in information for your Wi-Fi. This way it establishes a wireless connection, but it isn't able to connect to actually check for the update, so it forwards you on to the registration screen instead. Sneaky.
Check out the article and video here.
Ok I'm done with my warning.
A few seconds later click Reboot System.
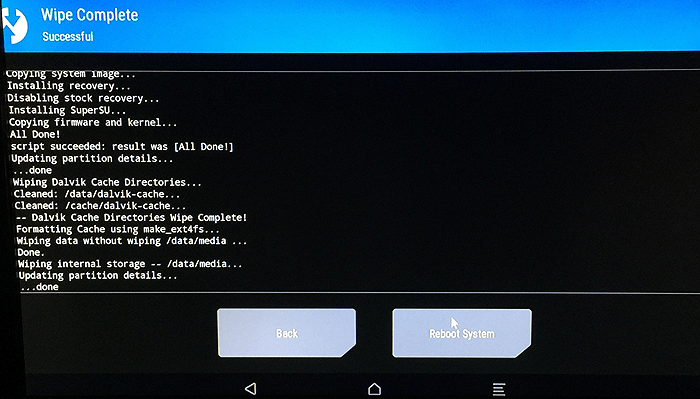
It will take a good minute or two for the Fire TV to restart. You'll also have to go through the initial setup process again. I swear the HARDEST thing about rooting the Fire TV is pairing the remote.
Step 6.
On the Fire TV click on Settings, System, Developer Options. Turn on Apps from Unknown Sources. You don't have to have ADB debugging on.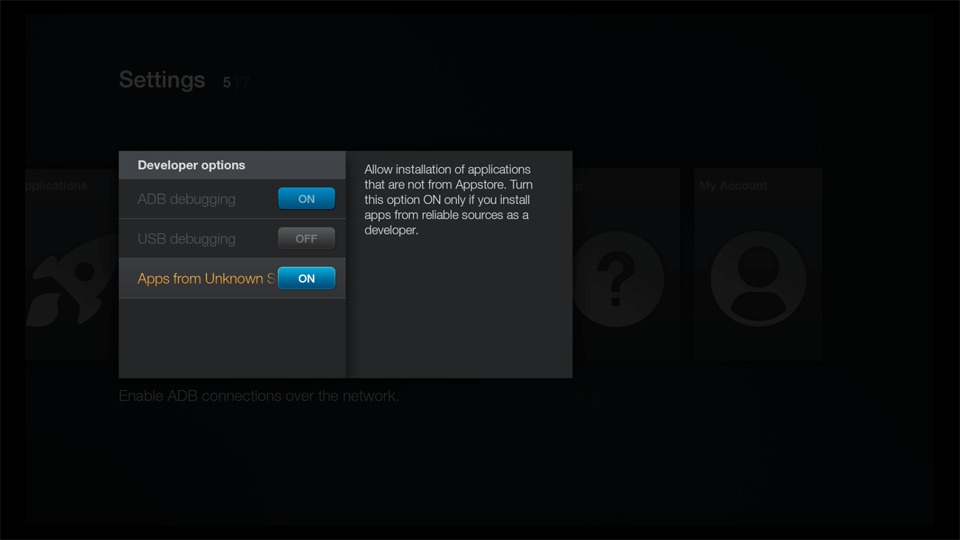
Now we need to block software updates. I'm going to keep doing this without using a computer so we'll need to redownload ES File Explorer, make that bookmark for my download site again and download the Android Terminal Emulator to finish up.
If you really want to use a computer to do this (it may actually be a lot faster) then check out my other KingRoot tutorial and go to Step 13. You'll also have to read Step 4 for how to set up adbFire to "talk" to the Fire TV. In this tutorial you'll use adbFire to open an adb Shell and send a couple Terminal commands over and be done with this.
Use Voice Search to locate the ES File Explorer application on the Amazon app store. Then click Download. When it's finished installing click Open.

Click the Favorite menu then click + Add.
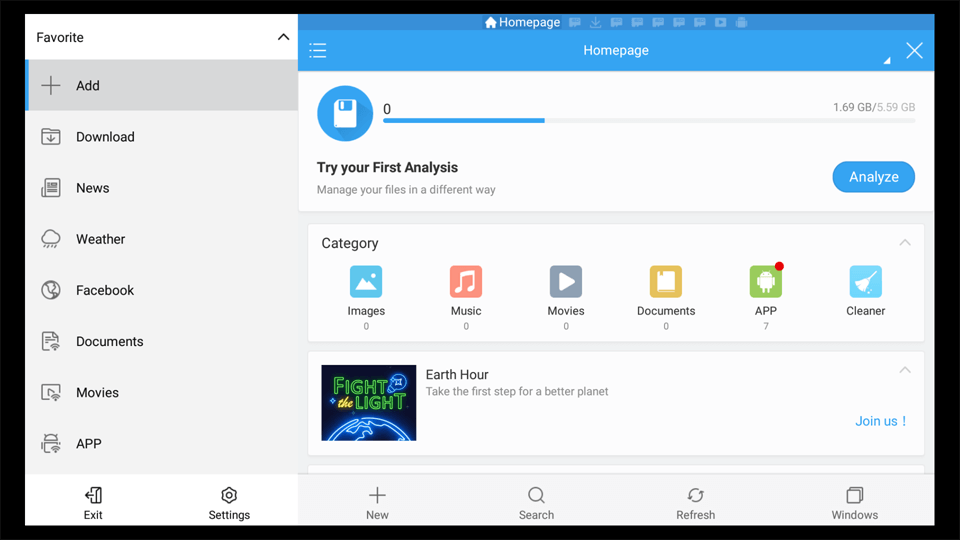
Enter http://marksmods.com/links.html in the Path box and give the link a name. Click Add.
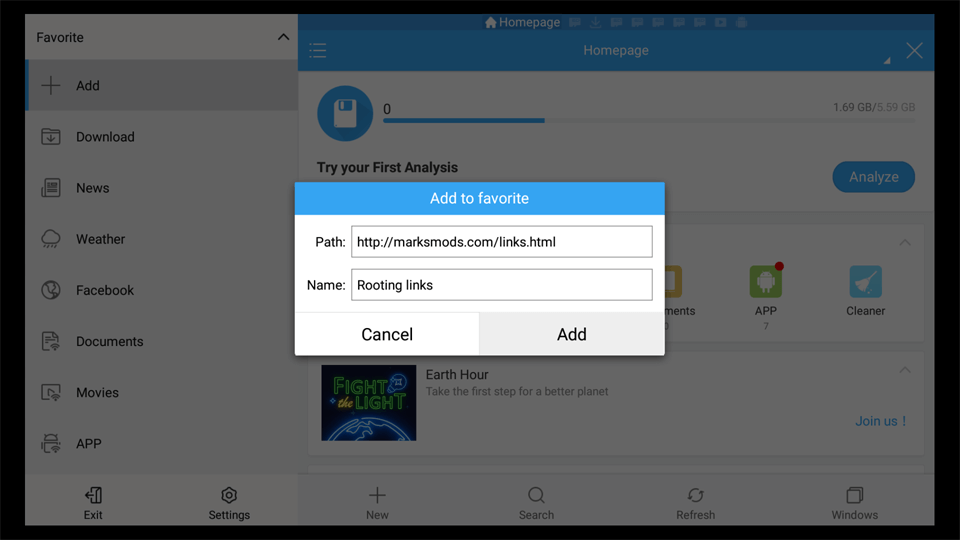
Back under the Favorites menu, scroll down to the bottom where the link you just saved is located. Click it.
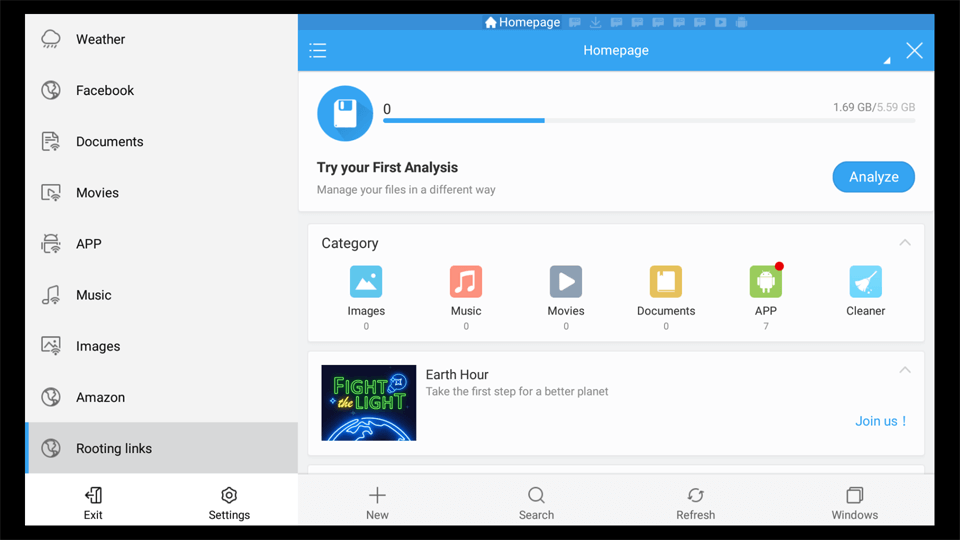
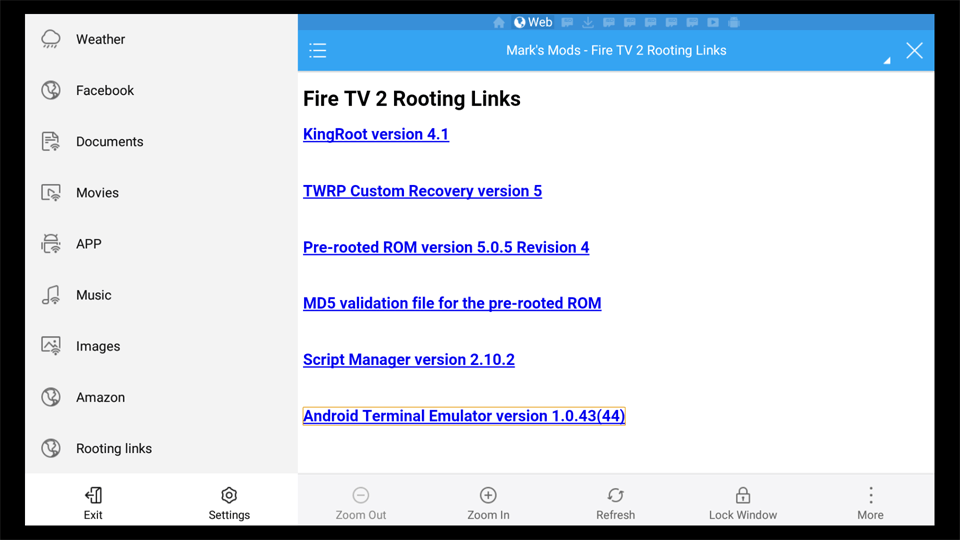
You only need to download the Android Terminal Emulator so click it. Then download the program. Remember if it doesn't start downloading then click the More button and select Open in browser.
When it has finished downloading click Open folder.
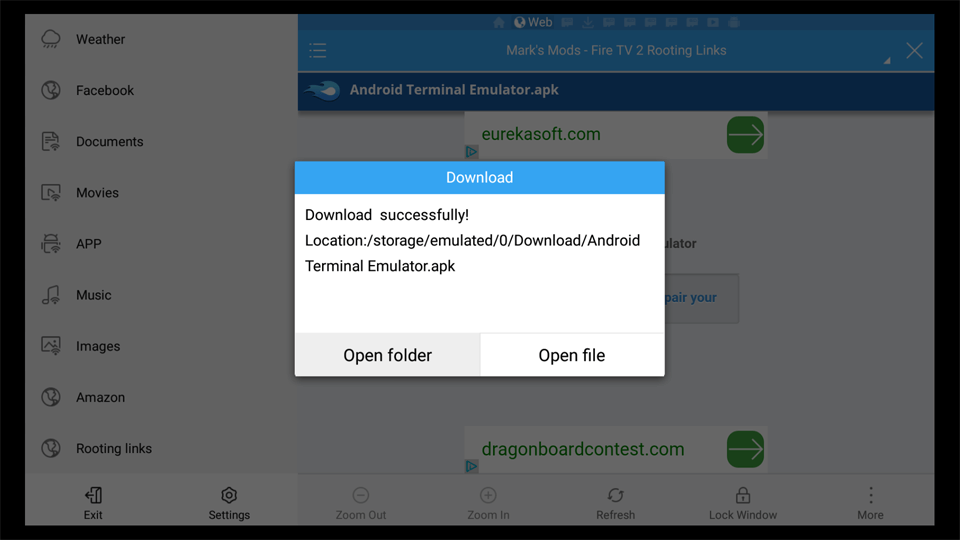
Click on the Android Terminal Emulator.
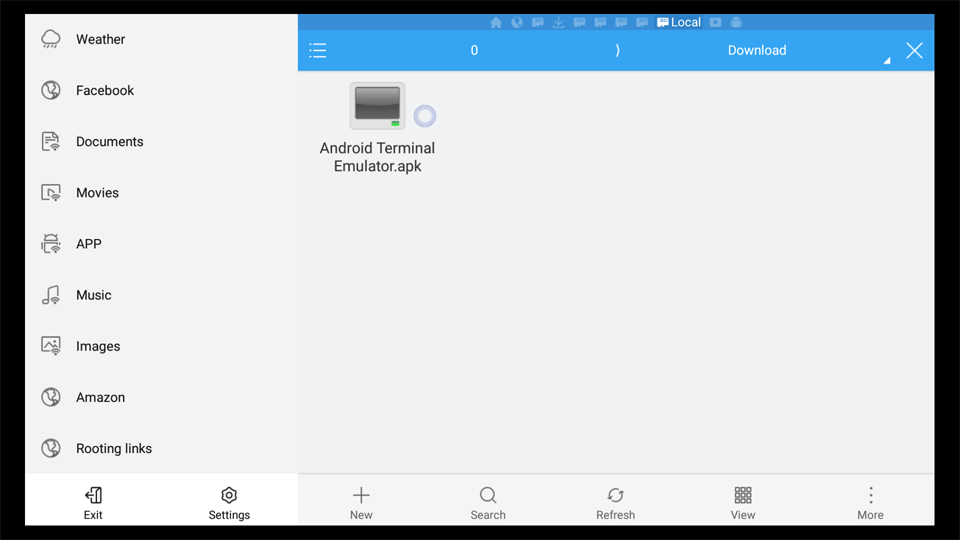
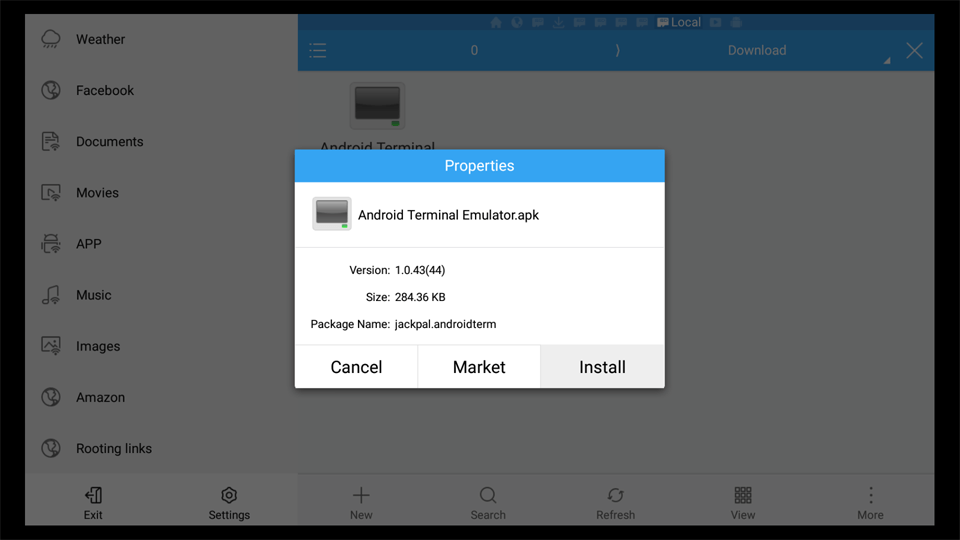
Click Install.
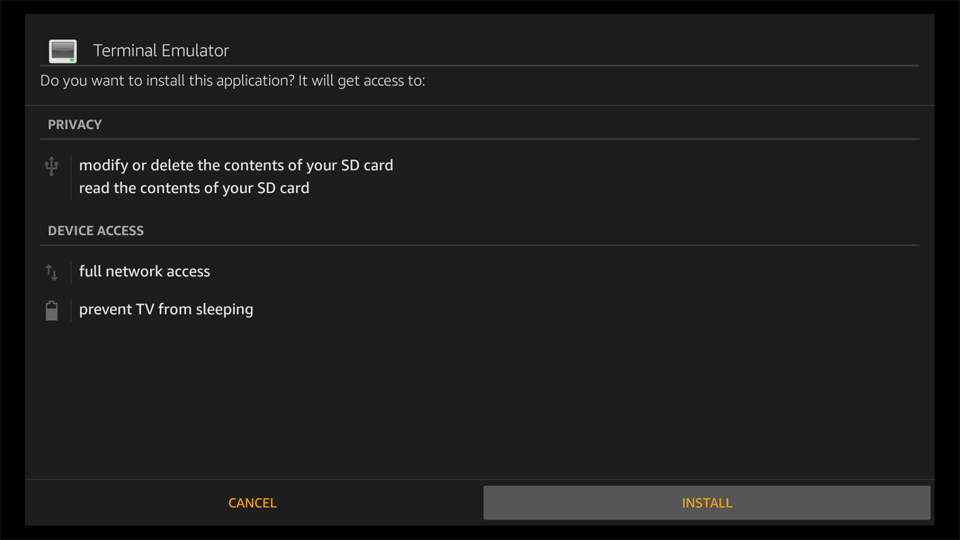
Click INSTALL.
Click OPEN.
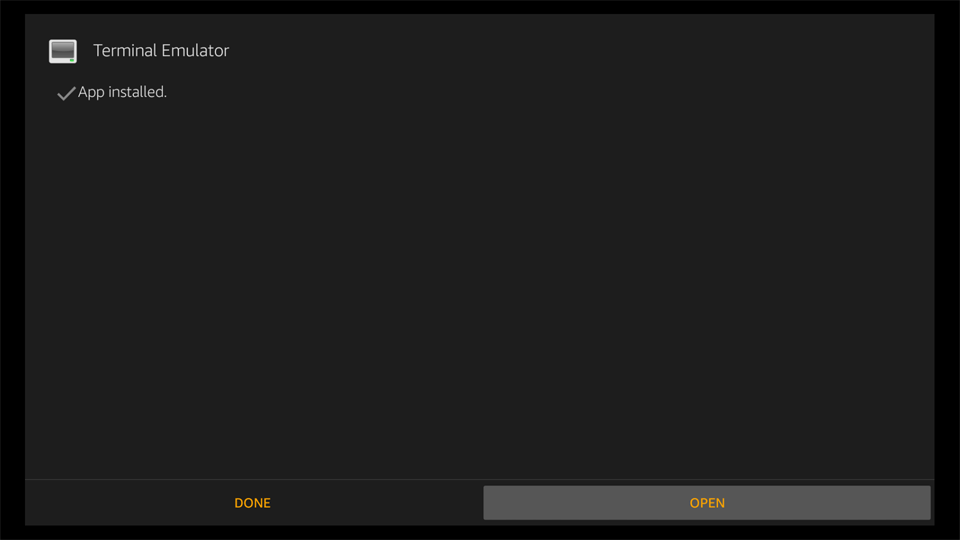
You are now in the Terminal. Now we need root access.
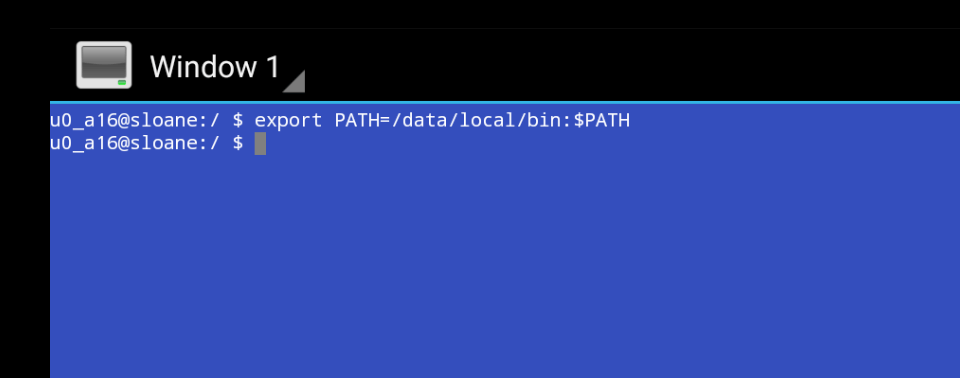
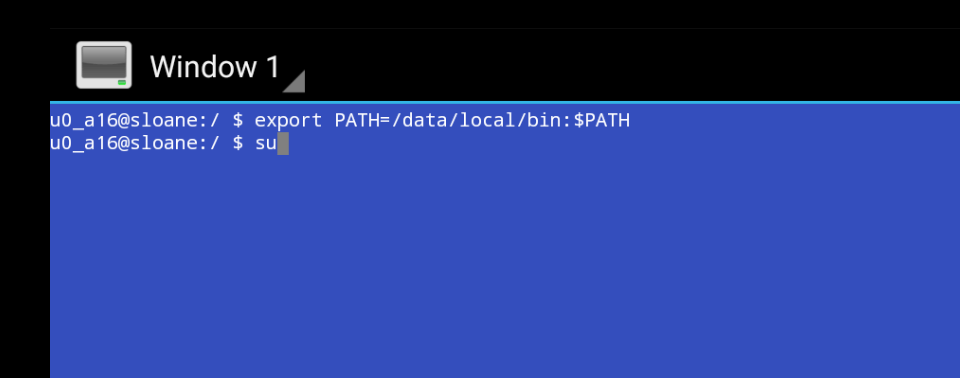
Enter su and press Enter.
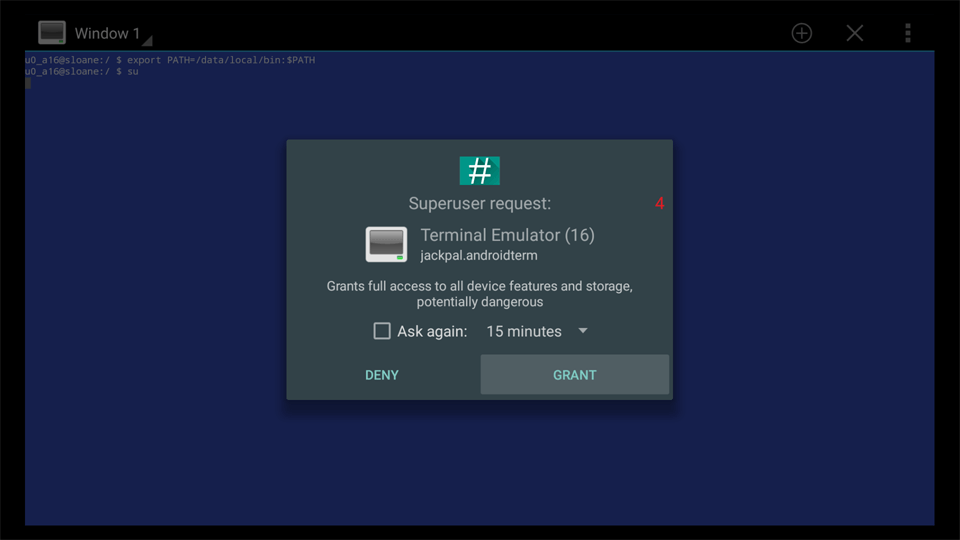
Click GRANT when your Fire TV prompts you for superuser access.
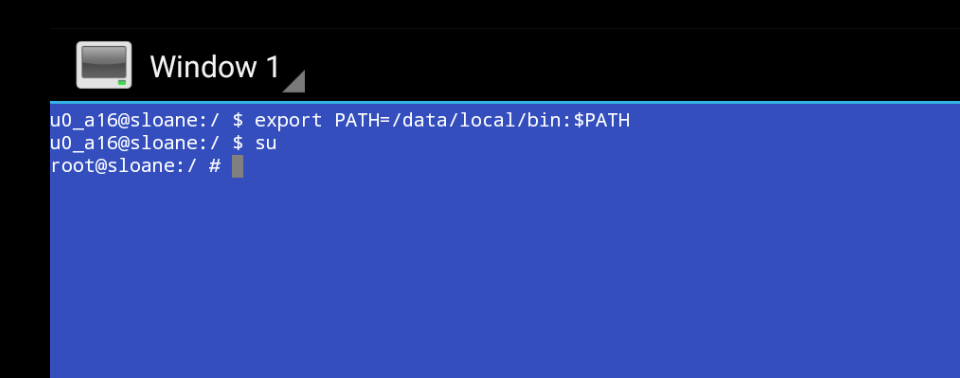
You must see root@sloane:/ # If you don't you're not at root.
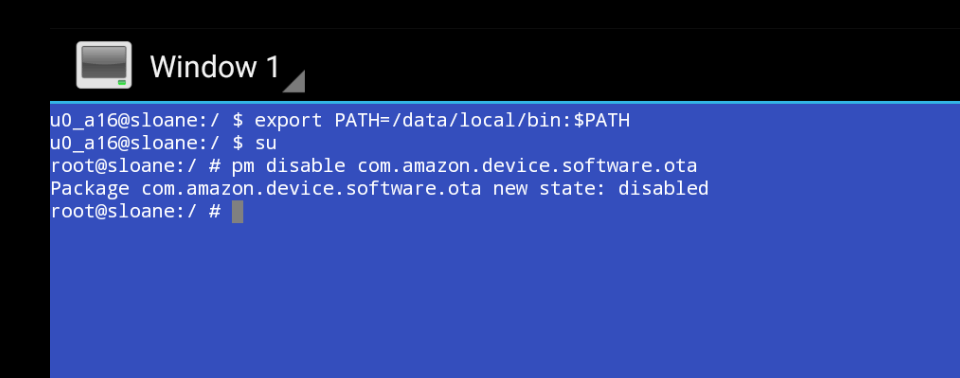
Enter pm disable com.amazon.device.software.ota and press Enter. Should you later want to enable updates enter pm enable com.amazon.device.software.ota
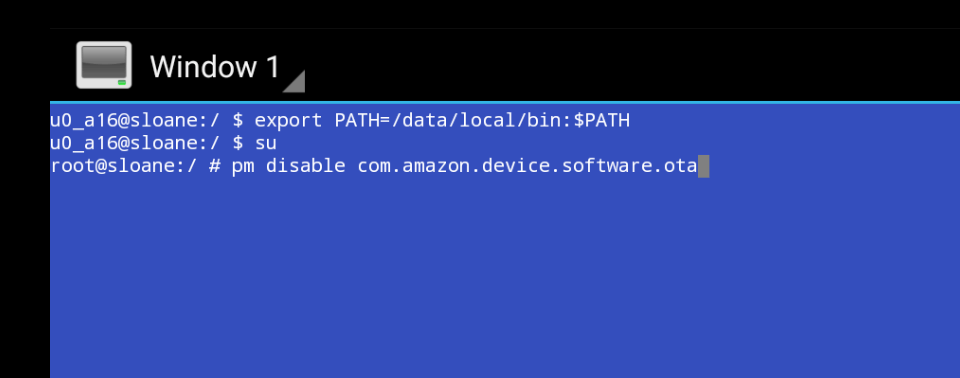
You should see the response that this has been disabled.
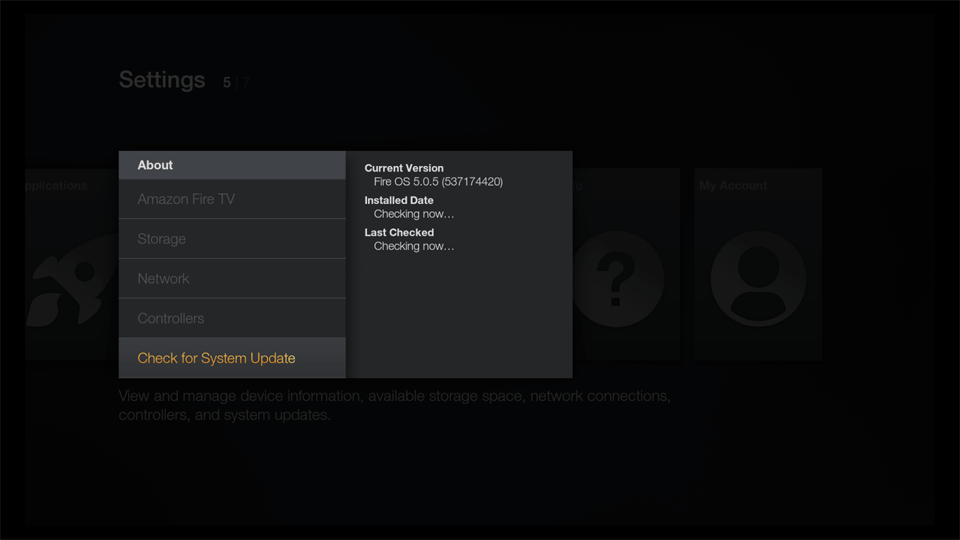
Let's verify that system updates are disabled. Press Home. Go to Settings, System, About, Check for System Update.
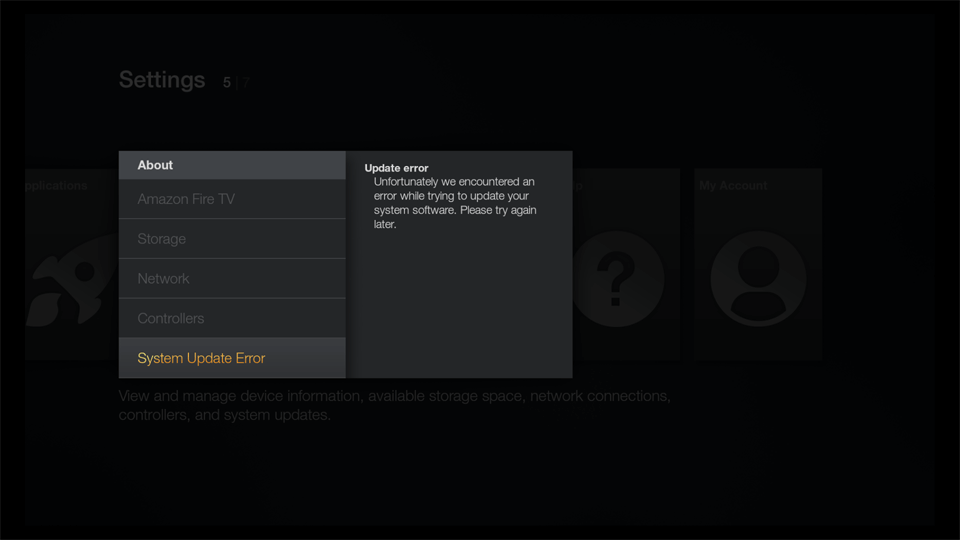
You'll see that the system update can't connect. Congratulations you are rooted and software updates are blocked. Happy hacking!
Additional Information
If you should happen to go to Settings, Applications, Manage Installed Applications, be aware that a program called SuperSU is installed as part of this process. Don't worry it's supposed to be there.
Factory resetting and software updates.
If you decide to factory reset your device you will have to block software updates again.How to restore your Fire TV back to stock.
Follow Zeroepoch's Wiki page here.What I did for some testing (and keep in mind 5.0.5 is the current software out) was to reenable software updates, use TWRP to flash 5.0.4 pre-rooted software, then use the Fire TV to check for and update and install 5.0.5. This left me with an unrooted, stock unit. Using TWRP again to root it would verify I was stock by seeing the device as read only.
How to upgrade a rooted Fire TV.
From Zeroepoch's Wiki: It's possible to upgrade a rooted device directly to a new version while keeping root. It carries more risk because the technique used could cause unrecoverable damage if done incorrectly (uses dd). One benefit though is that the upgrade process is very quick compared to the initial rooting. The safest way to upgrade is to revert back to stock, take the OTA, then root again.There are currently no procedures for this on the Wiki, but when there are Zeroepoch will post them here.
How to unbrick a Fire TV 2nd generation model.
Here's some helpful files from rbox.Enabling root on your Mac.
When I was playing around in adb shell I tried to access root on my Mac (which I do quite a bit). I just switched from OS X 10.9 Mavericks to OS X 10.11 El Capitan and I was surprised when it wouldn't accept my password. I didn't realize this is another new feature Apple has made to make it harder to run root. Here's how to set this up.• Launch System Preferences.
• Click on Users & Groups.
• Click the lock and enter your administrator password to make changes in this panel.
• Click Login Options.
• Where it says Network Account Server click the Join button.
• Click the Open Director Utility buton.
• Click the lock and enter your administrator password to make changes in this panel.
• In the menu bar click Edit then select Enable Root User.
• Enter the root password you wish to use in both the Password and Verify fields, then click OK.